If you have ever bitten into a gluten free waffle that tasted like cardboard, you are not alone, and this recipe is about to change that completely. These gluten free waffles are crispy on the outside, fluffy on the inside, and taste exactly like the real thing. No gummy texture, no weird aftertaste, just a proper waffle you will actually want to eat on a Saturday morning.
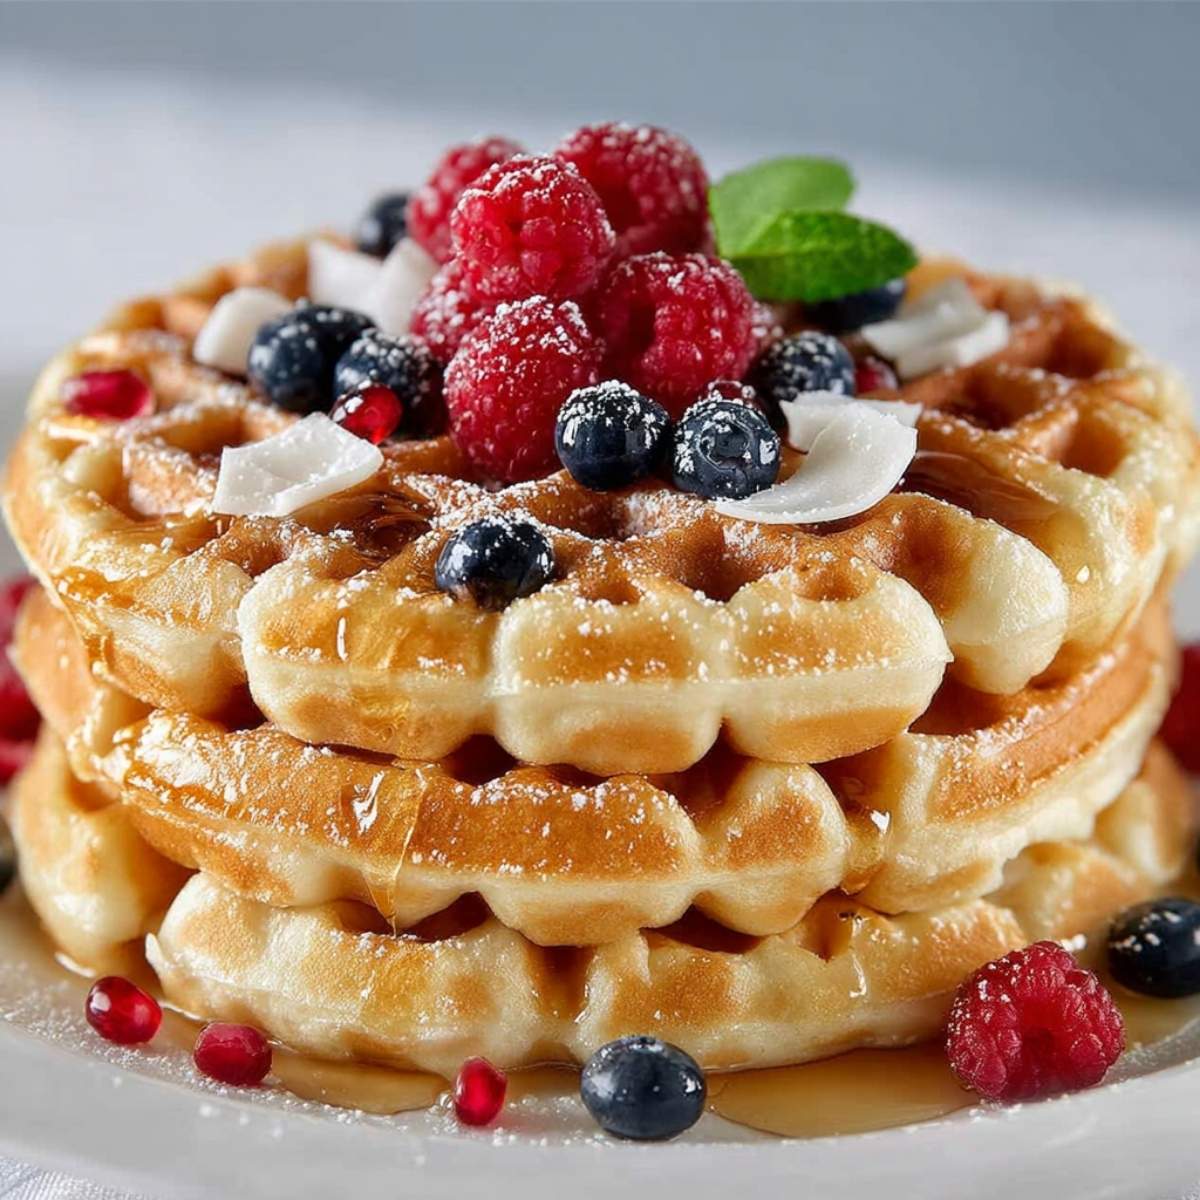
I tested this recipe five times before I was happy with it. The first two batches were too dense, the third one stuck to the waffle iron, and the fourth was close but not quite right. Batch five came out golden, crispy on the outside, and fluffy inside and I immediately called my grandmother to tell her I finally cracked it. If you love easy breakfast recipes like this one, my cinnamon rolls from scratch are another weekend favorite our family keeps coming back to.
Jump to:
Why You'll Love This Gluten Free Waffles Recipe
- Ready in about 30 minutes with simple pantry ingredients you can find at any grocery store.
- Crispy golden brown edges and a soft, fluffy center, the texture you expect from a real waffle, just without the gluten.
- Easy dairy-free option using any plant-based milk, so this recipe works for multiple dietary needs at once.
- No complicated technique needed, just mix the batter, heat the iron, and cook. Even first-time waffle makers get great results.
- Works as a make-ahead waffle batter you can prep the night before and keep in the fridge until morning.
Ingredients for Gluten Free Waffles
Here is everything you need to make this gluten free waffles recipe, most of it is probably already in your kitchen.
What You'll Need
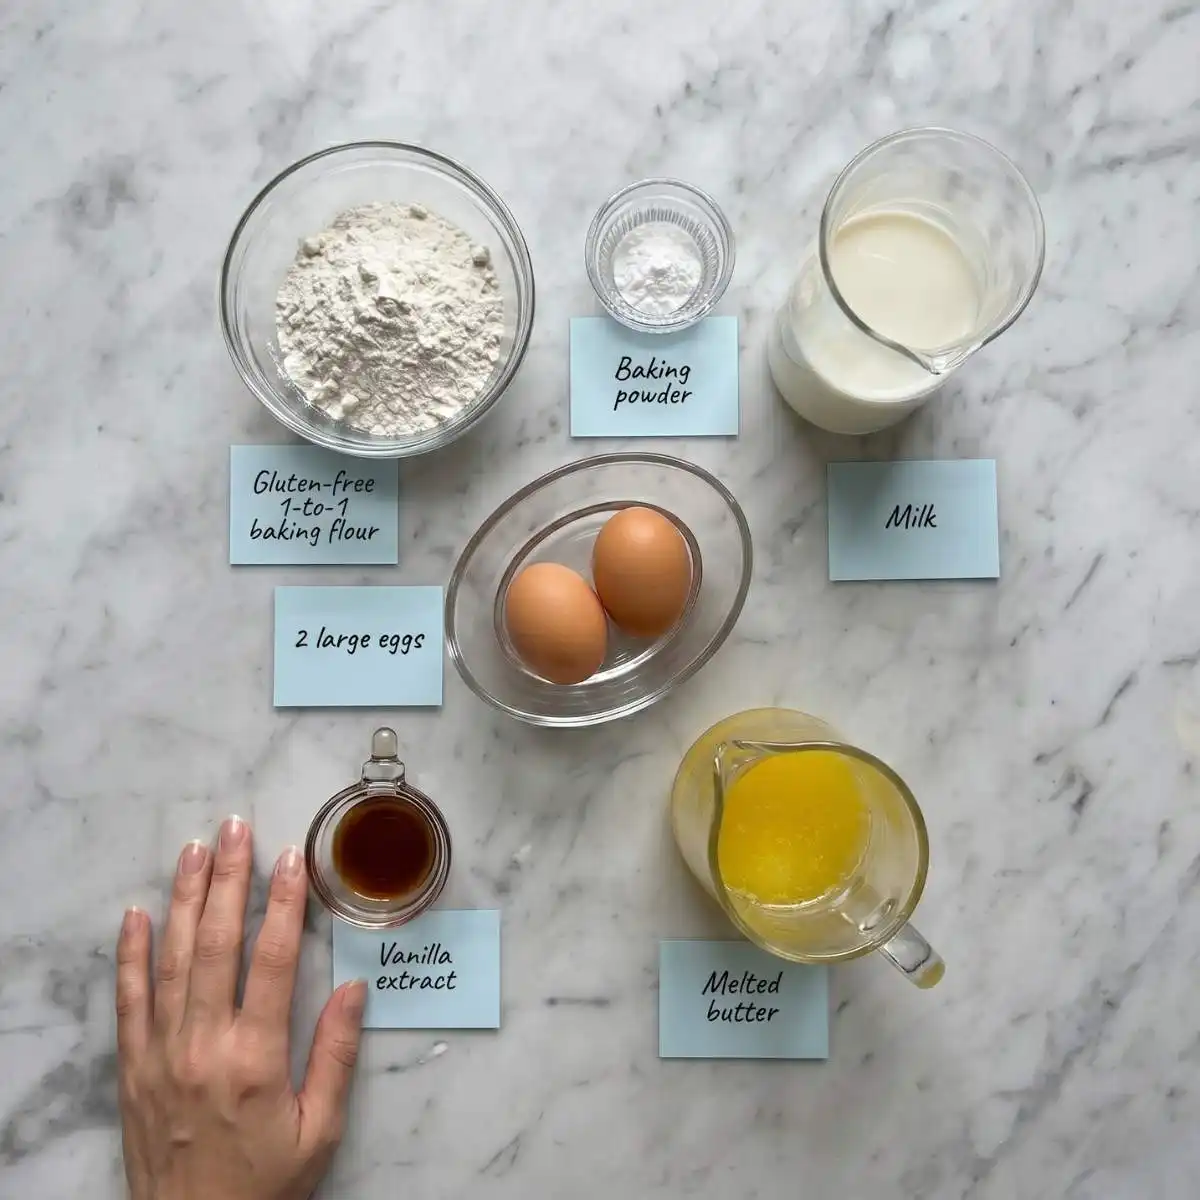
Gluten-free flour blend with xanthan gum - this is the most important ingredient in the whole recipe. Use a 1-to-1 gluten-free baking flour that already contains xanthan gum, such as Bob's Red Mill Gluten Free 1 for 1 Baking Flour or King Arthur Measure for Measure. Xanthan gum acts as a binder and gives the waffles structure so they hold together and do not crumble.
Baking powder - gives the batter lift and is responsible for that fluffy inside. Make sure yours is fresh. Old baking powder is the number one reason waffles come out flat and dense.
Eggs - the key to getting a light, airy texture with gluten-free batter. Room temperature eggs mix in more evenly and help the batter come together smoothly.
- 2 cups gluten-free 1-to-1 baking flour (with xanthan gum)
- 2 teaspoons baking powder
- 1 tablespoon sugar
- ½ teaspoon salt
- 2 large eggs, room temperature
- 1 ¾ cups milk or dairy-free plant-based milk
- ⅓ cup melted butter or neutral oil
- 1 teaspoon vanilla extract
See recipe card below for full measurements.
Substitutions and Variations for Gluten Free Waffles
- Dairy-free: swap regular milk for any plant-based milk like oat, almond, or coconut milk. The batter consistency stays the same and the waffles come out just as crispy.
- Egg-free vegan waffle option: replace each egg with a flax egg (1 tablespoon ground flaxseed mixed with 3 tablespoons water, rested for 5 minutes). The texture will be slightly denser but still good.
- For a gluten free Belgian waffle, use the same batter but separate the eggs, beat the whites until stiff peaks form, and fold them in at the end for extra lift.
- Add a teaspoon of cinnamon or a pinch of nutmeg to the batter for a warm, spiced version that pairs well with maple syrup and sliced bananas.
- Mix-ins: fold fresh or frozen blueberries, mini chocolate chips, or chopped pecans directly into the batter before cooking.
This recipe has not been tested with other substitutions or variations. If you replace or add any ingredients, please let us know how it turned out in the comments below!
Equipment for Gluten Free Waffles
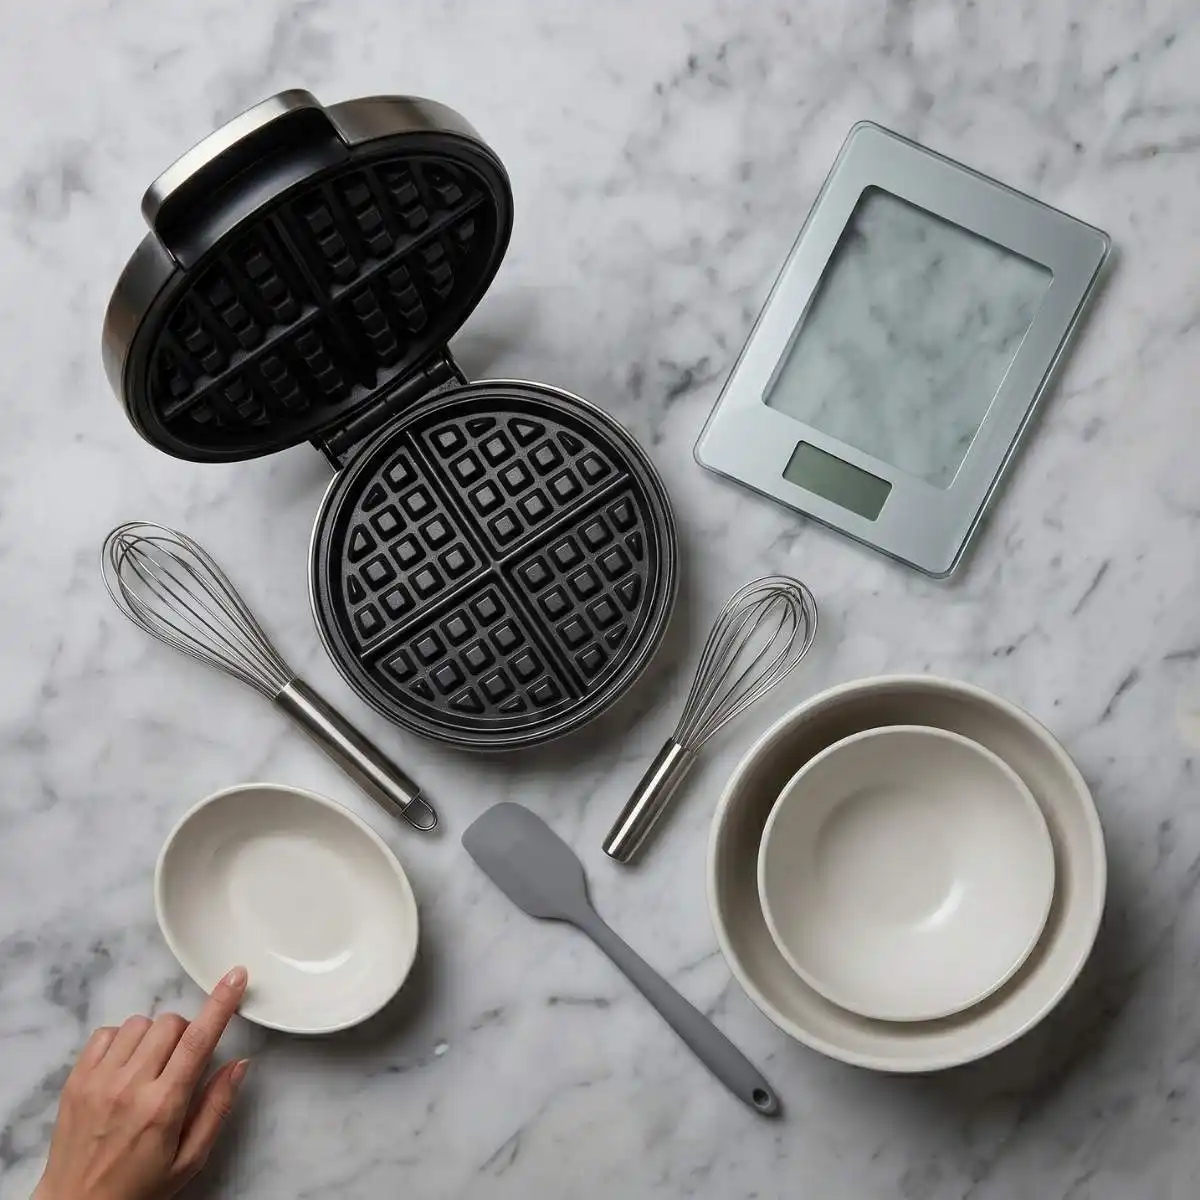
Waffle iron - you need one to make this recipe. A Belgian waffle maker produces thicker waffles with deeper pockets; a standard waffle maker gives you thinner, crispier results. Either works with this batter.
Non-stick cooking spray or a pastry brush with melted butter - even if your waffle iron is non-stick, gluten-free batter has a tendency to stick. Brush or spray the iron before every single waffle, not just the first one.
Mixing bowls - one large bowl for wet ingredients and one medium bowl for dry ingredients. Keeping them separate until the last step is what keeps the batter from getting overmixed.
Kitchen scale - highly recommended for measuring the gluten-free flour. Gluten-free flour blends are easy to over-pack in a measuring cup. Too much flour makes the batter stiff and the waffles come out dense. A scale gives you an accurate measurement every time.
Whisk and spatula - a whisk for combining the wet and dry ingredients and a flexible spatula for folding the batter and scraping it into the iron cleanly. For more easy breakfast ideas, my blueberry muffins use the same simple bowl-and-whisk method.
How to Make Gluten Free Waffles
Step-by-Step Directions
Step 1: Preheat your waffle iron according to the manufacturer's instructions and let it heat fully before adding any batter. A properly preheated iron is what gives you crisp golden brown edges instead of pale, soft waffles.
Step 2: In a medium bowl, whisk together the gluten-free flour blend, baking powder, sugar, and salt until the dry ingredients are fully combined and no lumps remain.
Step 3: In a large bowl, whisk the eggs until lightly beaten, then add the milk, melted butter, and vanilla extract. Whisk until the wet ingredients are smooth and fully blended.
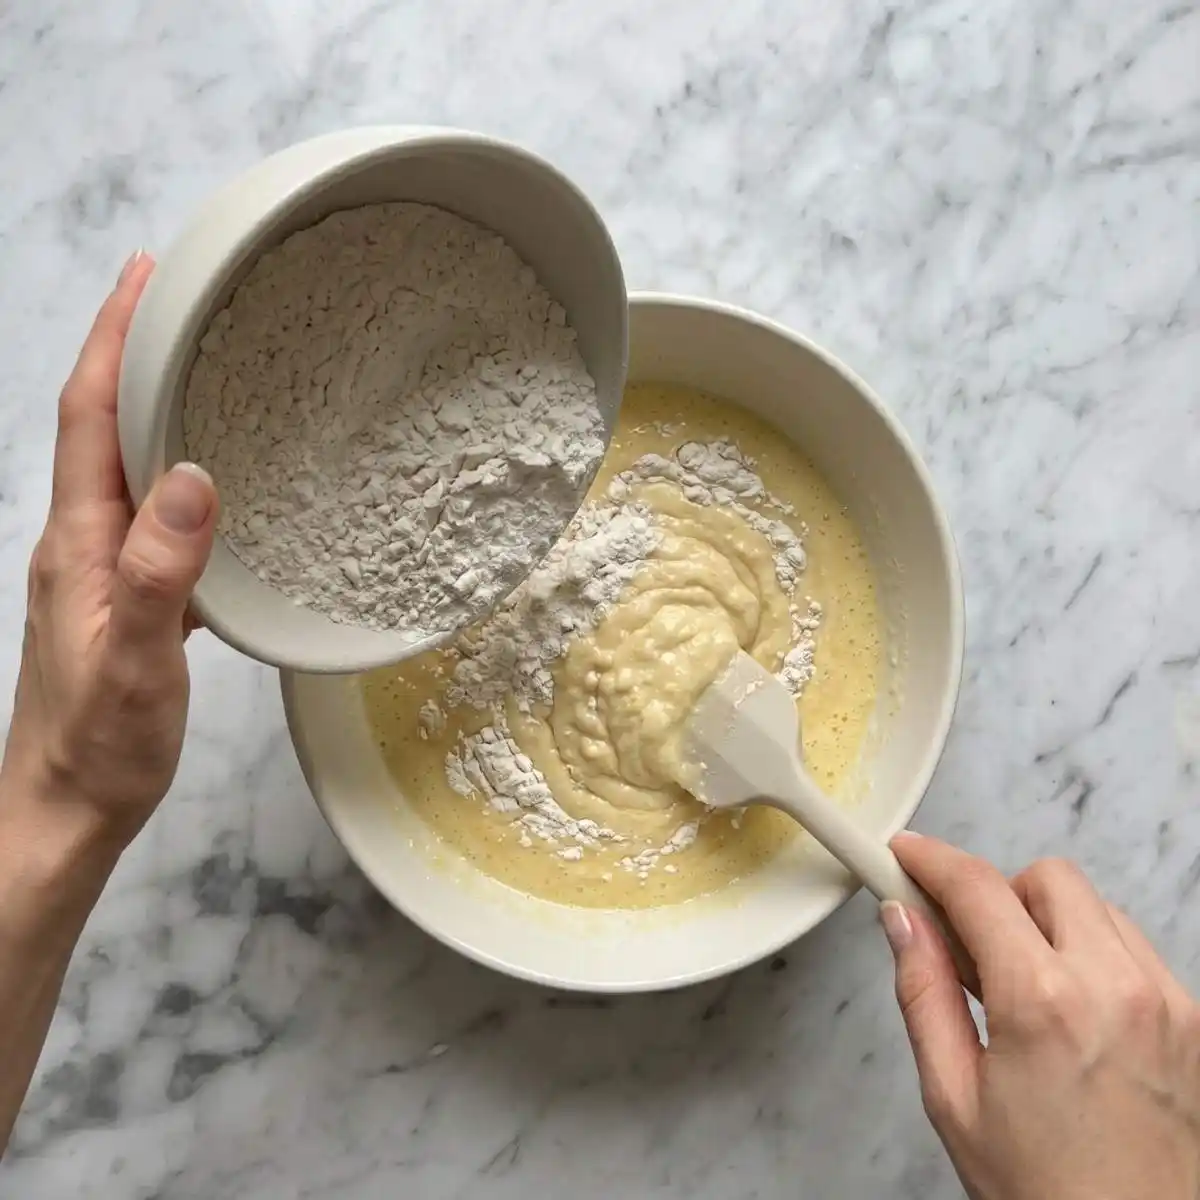
Step 4: Pour the dry ingredients into the wet ingredients and stir gently until just combined and no dry flour streaks remain. Do not overmix, a few small lumps in the batter are perfectly fine and expected. Overmixing develops the batter too much and results in a tougher texture.
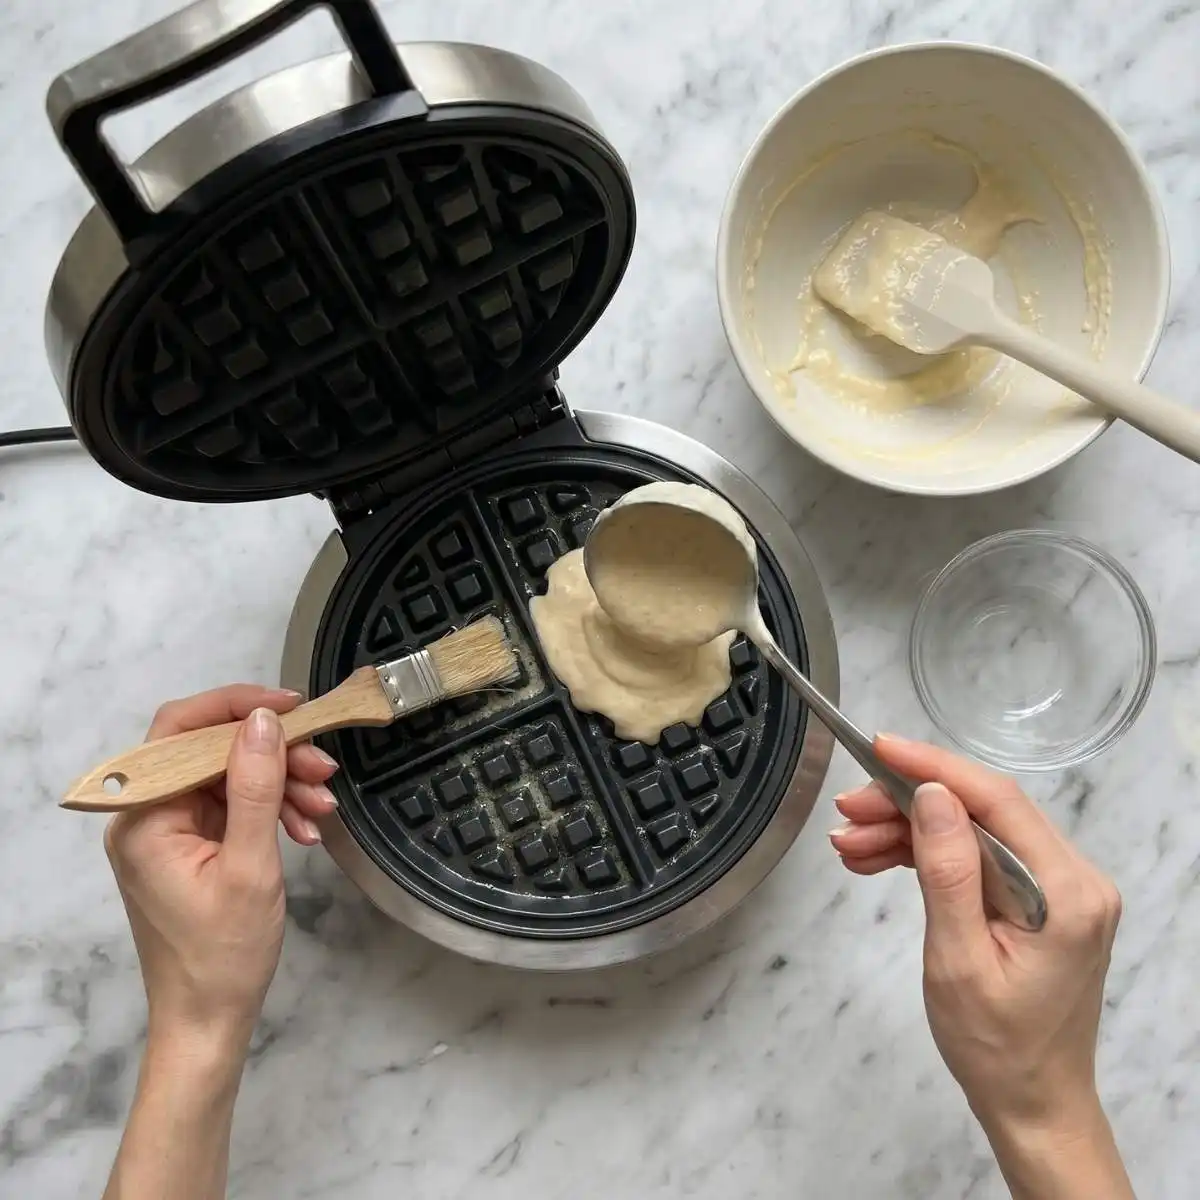
Step 5: Spray or brush your waffle iron generously with non-stick spray or melted butter. Pour enough batter to fill the iron about three-quarters full, close the lid, and cook according to your iron's settings, usually 3 to 5 minutes until the steam slows down and the waffle is golden brown on the outside.
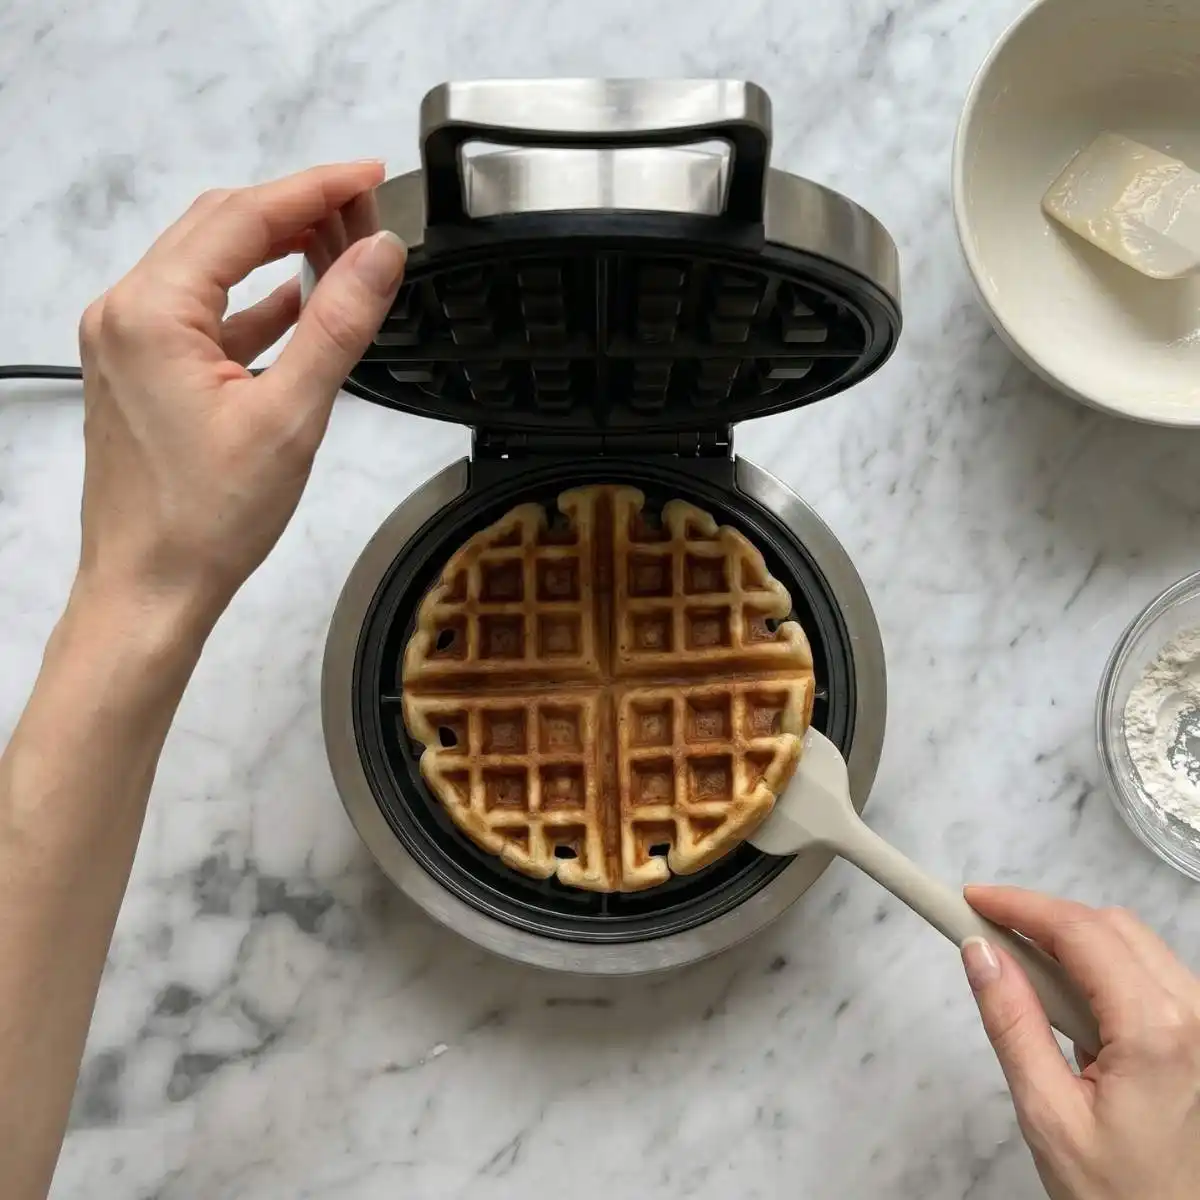
Step 6: Carefully open the waffle iron. The waffle should release cleanly and look deep golden with crisp, defined edges. If it looks pale or sticks slightly, give it another 30 to 60 seconds. Transfer to a wire rack to keep the bottom from going soggy while you cook the rest.
Step 7: Repeat with the remaining batter, brushing the iron before each waffle. Serve immediately with your favorite gluten-free waffle toppings like fresh berries, maple syrup, whipped cream, or sliced banana.
Expert Tips for Gluten Free Waffles
- Measure the flour in grams using a kitchen scale. Gluten-free flour blends are particularly easy to over-pack when scooped directly from the bag. Too much flour stiffens the batter and gives you a dense, heavy waffle. If you do not have a scale, use the spoon and level method: spoon the flour into the measuring cup and level it off with a straight edge. Never scoop straight from the bag.
- Let the batter rest for 5 minutes before cooking. This gives the gluten-free flour blend time to hydrate fully and the baking powder time to activate. The batter will thicken slightly, and the waffles will cook more evenly with a better rise.
- Do not open the waffle iron early. It is tempting to check, but opening the iron too soon tears the waffle apart because the structure has not set yet. Wait until the steam visibly slows down before lifting the lid, that is a reliable sign the waffle is close to done.
- Keep finished waffles warm and crispy in the oven. Set your oven to 200 degrees F and place the cooked waffles directly on the oven rack in a single layer. Stacking them on a plate traps steam and makes them soft. The oven keeps them crisp for up to 30 minutes while you finish the batch.
Storage Tips for Gluten Free Waffles
Waffles store and reheat well, making them great for meal prep.
Room temp: Not recommended. Gluten-free waffles lose crispness within 1 to 2 hours.
Fridge: Store in an airtight container up to 3 days. Reheat in a toaster or toaster oven for 2 to 3 minutes. Avoid the microwave.
Freezer: Freeze in a single layer, then transfer to a bag for up to 2 months. Toast straight from frozen. No thawing needed.
FAQ about Gluten Free Waffles
Does Eggo make a gluten-free waffle?
As of now, Eggo does not make a certified gluten-free waffle. Their regular waffles contain wheat flour and are not suitable for anyone with celiac disease or a gluten intolerance. If you want a store-bought option, brands like Van's and Schär both make gluten-free frozen waffles, but homemade ones like this recipe are always crispier and taste much better.
Does Aldi have gluten-free waffles?
Aldi does carry gluten-free products and their selection varies by location and season. Your best bet is to check the gluten-free or free-from section of your local store. That said, making your own at home takes only 30 minutes, you control every ingredient, and the texture is far better than most frozen options.
Are there any gluten-free waffles?
Yes, and more than ever. You can find gluten-free frozen waffles from brands like Van's, Schär, and some store brands at most major grocery stores. For a homemade gluten free waffle recipe, a good 1-to-1 gluten-free flour blend with xanthan gum is all you need to get the same crispy outside and fluffy inside as a traditional waffle.
How do you make 4 ingredient gluten-free waffles?
The simplest version uses a gluten-free flour blend, eggs, milk, and oil or butter. Mix them together, pour into a preheated waffle iron, and cook until golden. You will not get quite the same lift or flavor depth as this full recipe, but it works as a quick option when you want something fast with minimal ingredients.
Related
Looking for other recipes like this? Try these:


Pairing
These are my favorite dishes to serve with Gluten Free Waffles:


📖 Recipe
Easy Gluten Free Waffles (Crispy Outside, Fluffy Inside)
Ingredients
Equipment
Method
- Carefully open the iron. Your waffle should be deep golden and release easily. I love to keep mine on a wire rack in a warm oven at 200°F while I finish the rest-it keeps the bottoms from getting soggy while the kids get their shoes on!
- In your medium bowl, whisk together the gluten-free 1-to-1 baking flour, baking powder, sugar, and salt. Make sure there are no lumps-we want a perfectly smooth path for our fluffy interior.
- In a larger bowl, lightly beat the eggs. Stir in the milk, melted butter, and vanilla extract. Using room-temp eggs here helps everything stay silky and prevents the butter from seizing up!
- Pour the dry flour mixture into the wet ingredients. Use your silicone spatula to stir gently until the flour streaks disappear. Don't worry about a few tiny lumps-overmixing is the enemy of "fluffy," so treat it gently!
- Let the batter rest for 5 minutes (this helps the gluten-free flour hydrate!). Then, grease the waffle iron and pour in enough batter to fill it about three-quarters full. Close the lid and resist the urge to peek until the steam slows down!
- Carefully open the iron. Your waffle should be deep golden and release easily. I love to keep mine on a wire rack in a warm oven at 200°F while I finish the rest-it keeps the bottoms from getting soggy while the kids get their shoes on!