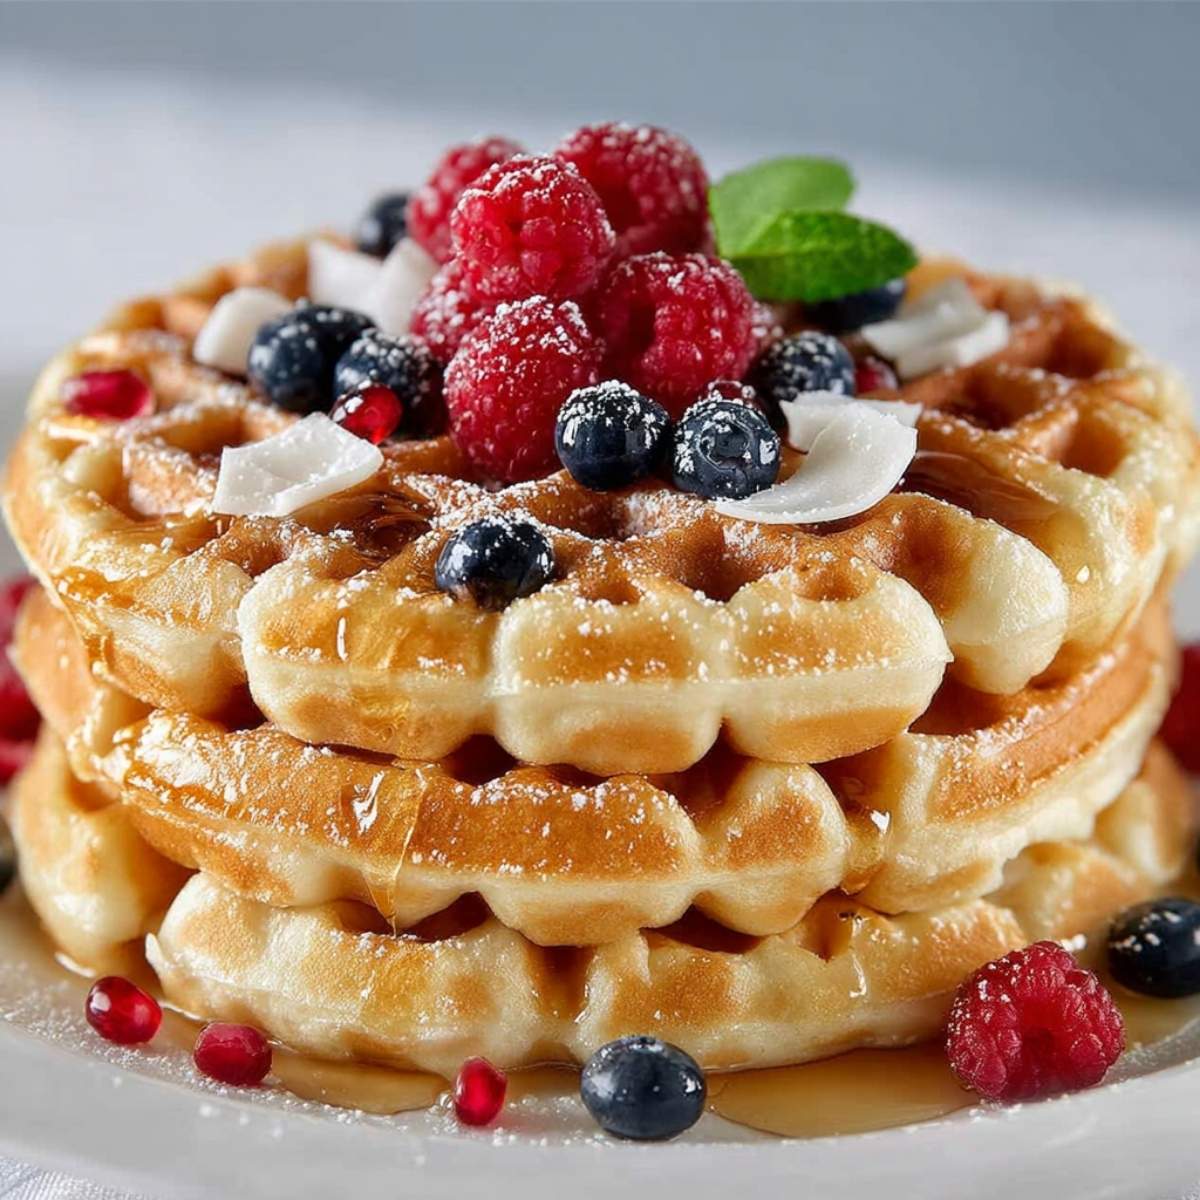
Ingredients
Equipment
Method
- Carefully open the iron. Your waffle should be deep golden and release easily. I love to keep mine on a wire rack in a warm oven at 200°F while I finish the rest—it keeps the bottoms from getting soggy while the kids get their shoes on!
- In your medium bowl, whisk together the gluten-free 1-to-1 baking flour, baking powder, sugar, and salt. Make sure there are no lumps—we want a perfectly smooth path for our fluffy interior.
- In a larger bowl, lightly beat the eggs. Stir in the milk, melted butter, and vanilla extract. Using room-temp eggs here helps everything stay silky and prevents the butter from seizing up!
- Pour the dry flour mixture into the wet ingredients. Use your silicone spatula to stir gently until the flour streaks disappear. Don't worry about a few tiny lumps—overmixing is the enemy of "fluffy," so treat it gently!
- Let the batter rest for 5 minutes (this helps the gluten-free flour hydrate!). Then, grease the waffle iron and pour in enough batter to fill it about three-quarters full. Close the lid and resist the urge to peek until the steam slows down!
- Carefully open the iron. Your waffle should be deep golden and release easily. I love to keep mine on a wire rack in a warm oven at 200°F while I finish the rest—it keeps the bottoms from getting soggy while the kids get their shoes on!
Nutrition
Serving: 1waffleCalories: 295kcalCarbohydrates: 38gProtein: 6gFat: 13gSaturated Fat: 7gPolyunsaturated Fat: 1gMonounsaturated Fat: 4gCholesterol: 85mgSodium: 310mgPotassium: 140mgFiber: 3gSugar: 5gVitamin A: 350IUCalcium: 120mgIron: 1.5mg
Notes
Dairy-Free: Simply swap the milk for oat or almond milk and use neutral oil instead of butter.
Freezer Friendly: These are better than any store-bought box! Freeze in a single layer, then pop them in the toaster for a quick weekday win.
Rest the Batter: That 5-minute rest period is non-negotiable for gluten-free baking; it prevents that "gritty" texture we all want to avoid.
Avoid the Microwave: To keep them crispy when reheating, always use the toaster or oven. The microwave will make them rubbery.
Tried this recipe?Let us know how it was!