You've walked into a girl's bedroom where the bed sits in exactly the wrong spot - traffic jams at the door, crooked sightlines, and a cramped feeling that makes the whole room harder to use than it should be. The fix is rarely a new piece of furniture. It's almost always about where the bed lands.
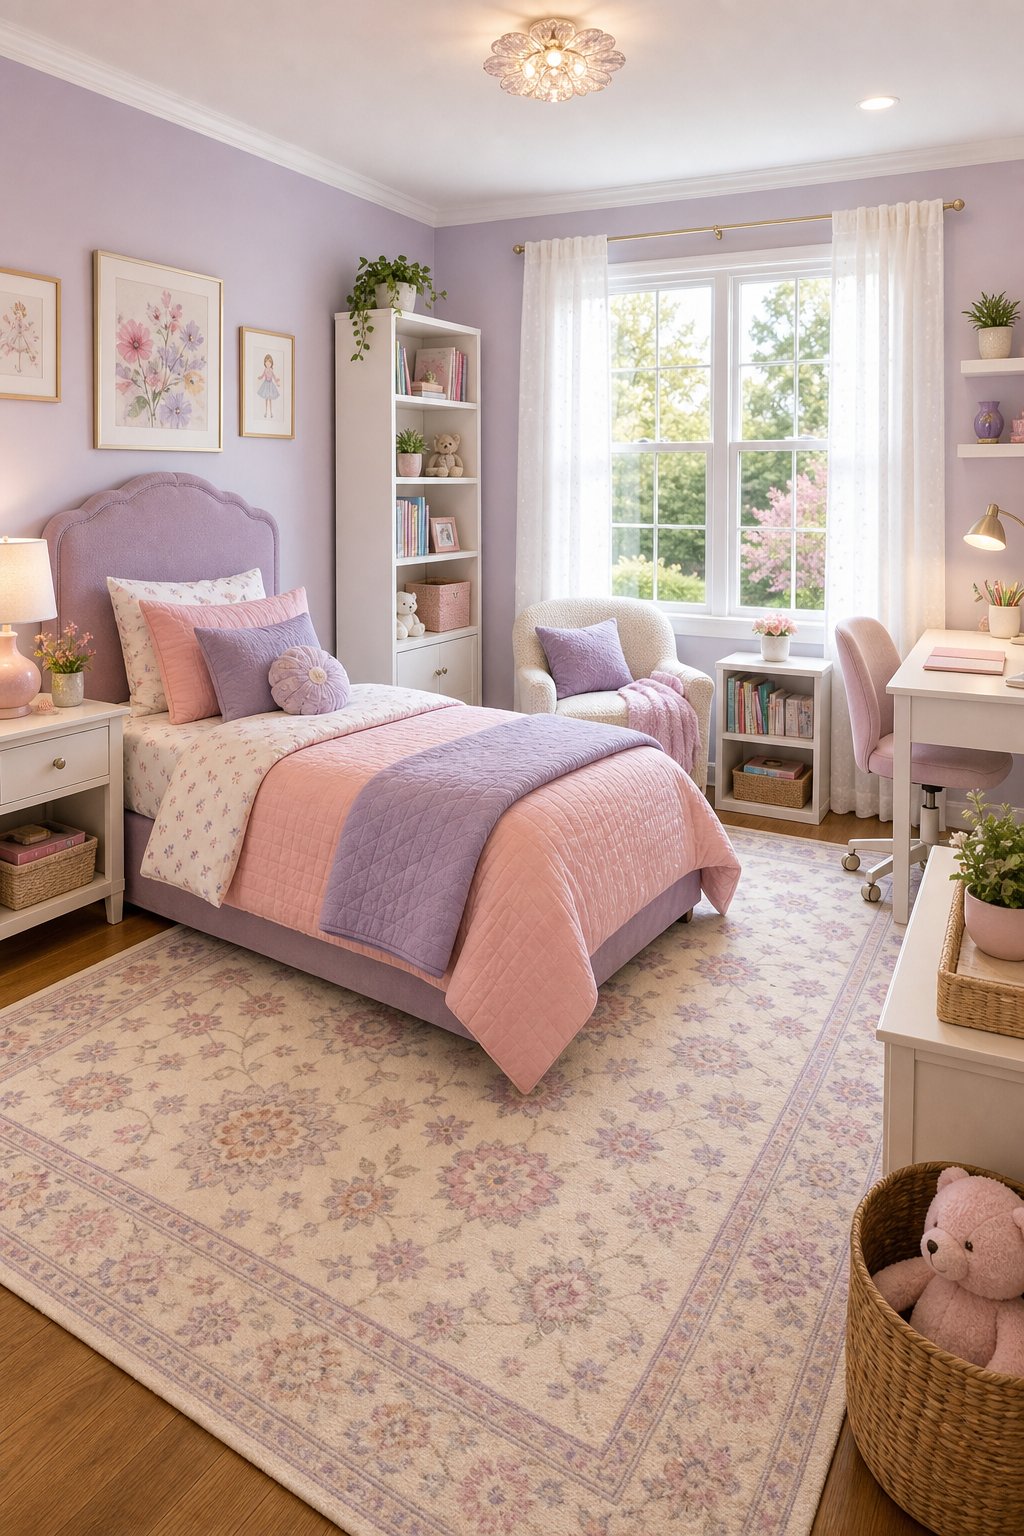
Place the bed where it fixes flow and sightlines first, then layer storage and light so the whole room feels calm and useful. The layouts below match common room shapes and real problems, with clear reasons why each placement works - so you're not just moving furniture around and hoping for the best.
1) Center the bed under a single large window to balance light and symmetry
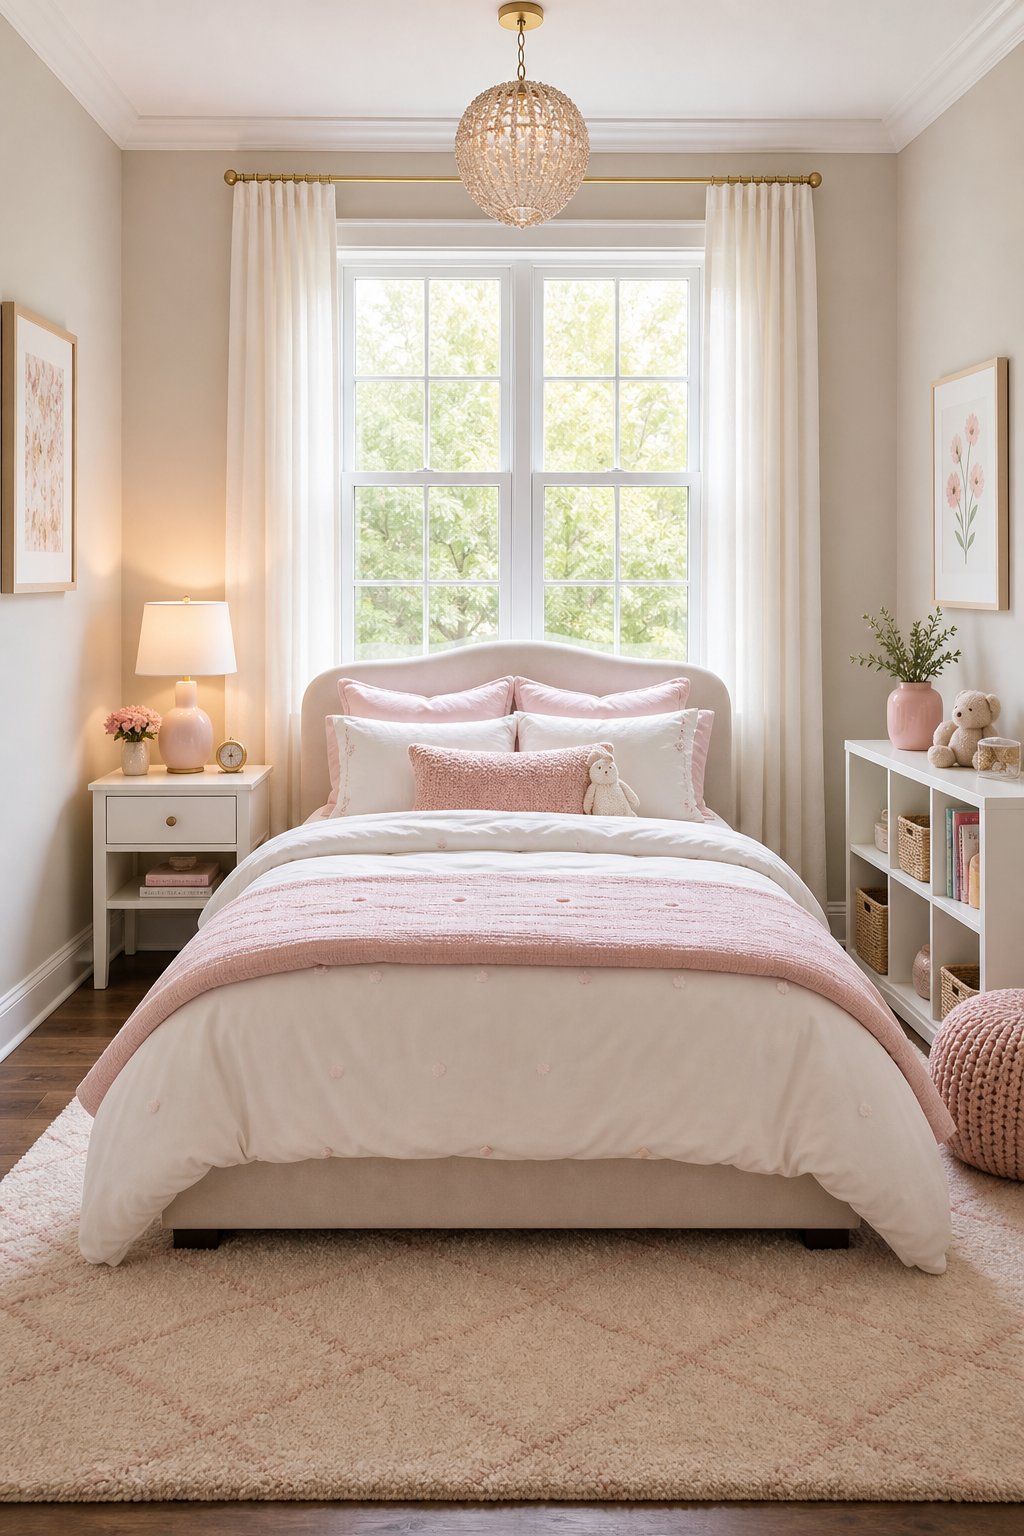
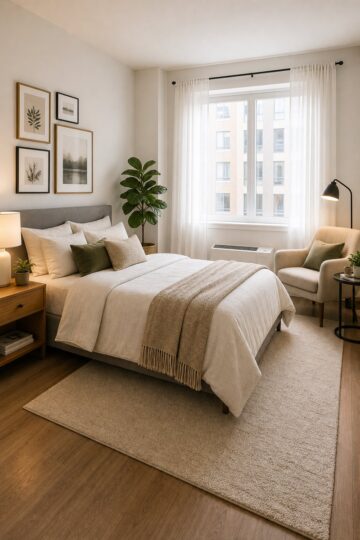
Your room has one big window that pulls all the attention. Centering the bed under it makes the window and the bed work as a unit instead of competing for focus. Slide the headboard so it sits flush beneath the window trim with equal space on both sides, and you immediately free up the long walls for a dresser or a desk.
Use low-profile nightstands or wall-mounted lights to keep the sightlines clean. Morning light will fall evenly across the bed, and that symmetry makes a small room feel noticeably calmer without adding anything new to the space.
2) Float the bed slightly off the walls to open circulation in a tight room
If a door swing or closet crowds one side of the room, pulling the bed a few inches off the wall makes more of a difference than it sounds. Position the headboard close to the wall, but leave a 6 to 12 inch gap on each side, then add narrow nightstands that don't jut into the path.
That small gap creates a walking channel and lets light travel around the bed rather than stopping at it. Visually, the float shows more floor, which makes the room read as larger even though nothing has changed in actual square footage. The bed stops looking like it was shoved into place and starts looking like it was placed there intentionally.
3) Anchor a twin bed on the long wall with a floor-length mirror opposite
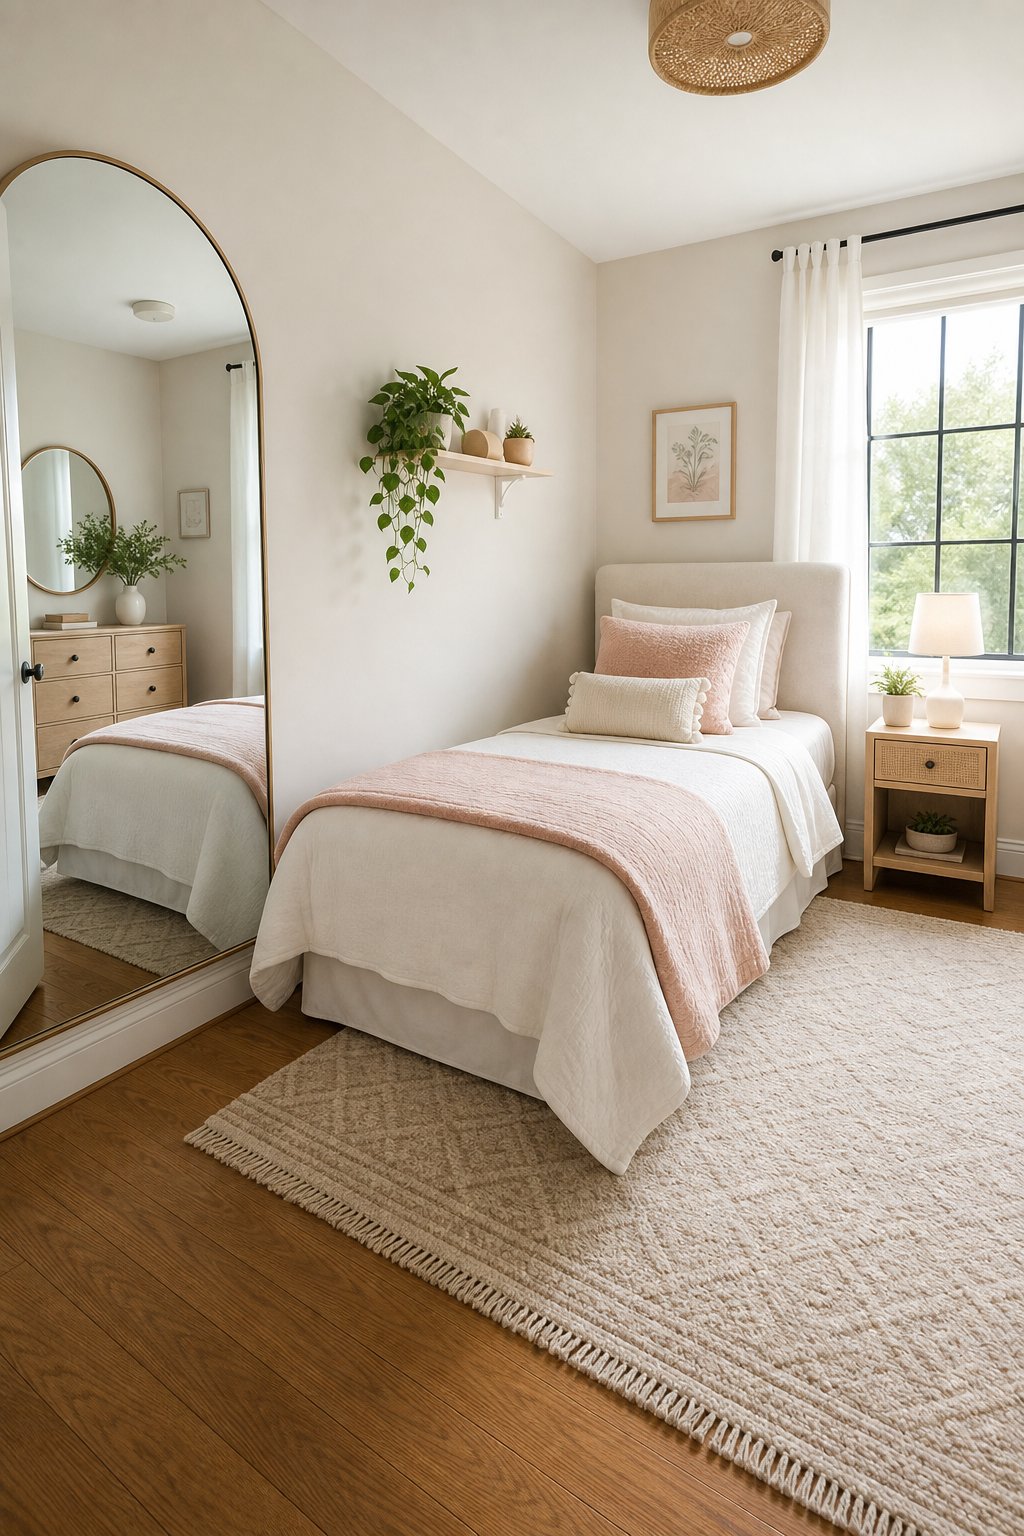
Narrow rooms feel strangled when the bed sits across the short wall. Running the twin along the long wall instead opens a clear path from the door to the window and stops the bed from cutting the room in half.
Mount a slim nightstand at one end and keep a low bookshelf near the foot to hold the floor visible. Then place a floor-length mirror on the opposite wall. It doubles the perceived depth of the room the moment you walk in and reflects natural light back across the space, which is doing a lot of work for something that takes up almost no floor space.
Style Tip
A leaning floor mirror is easier to reposition than a wall-mounted one, which matters in a room where the layout might shift again. It also tends to look less formal, which suits most kids' and teens' spaces.
4) Push the bed into a corner at a 45° angle for a genuine nook feel
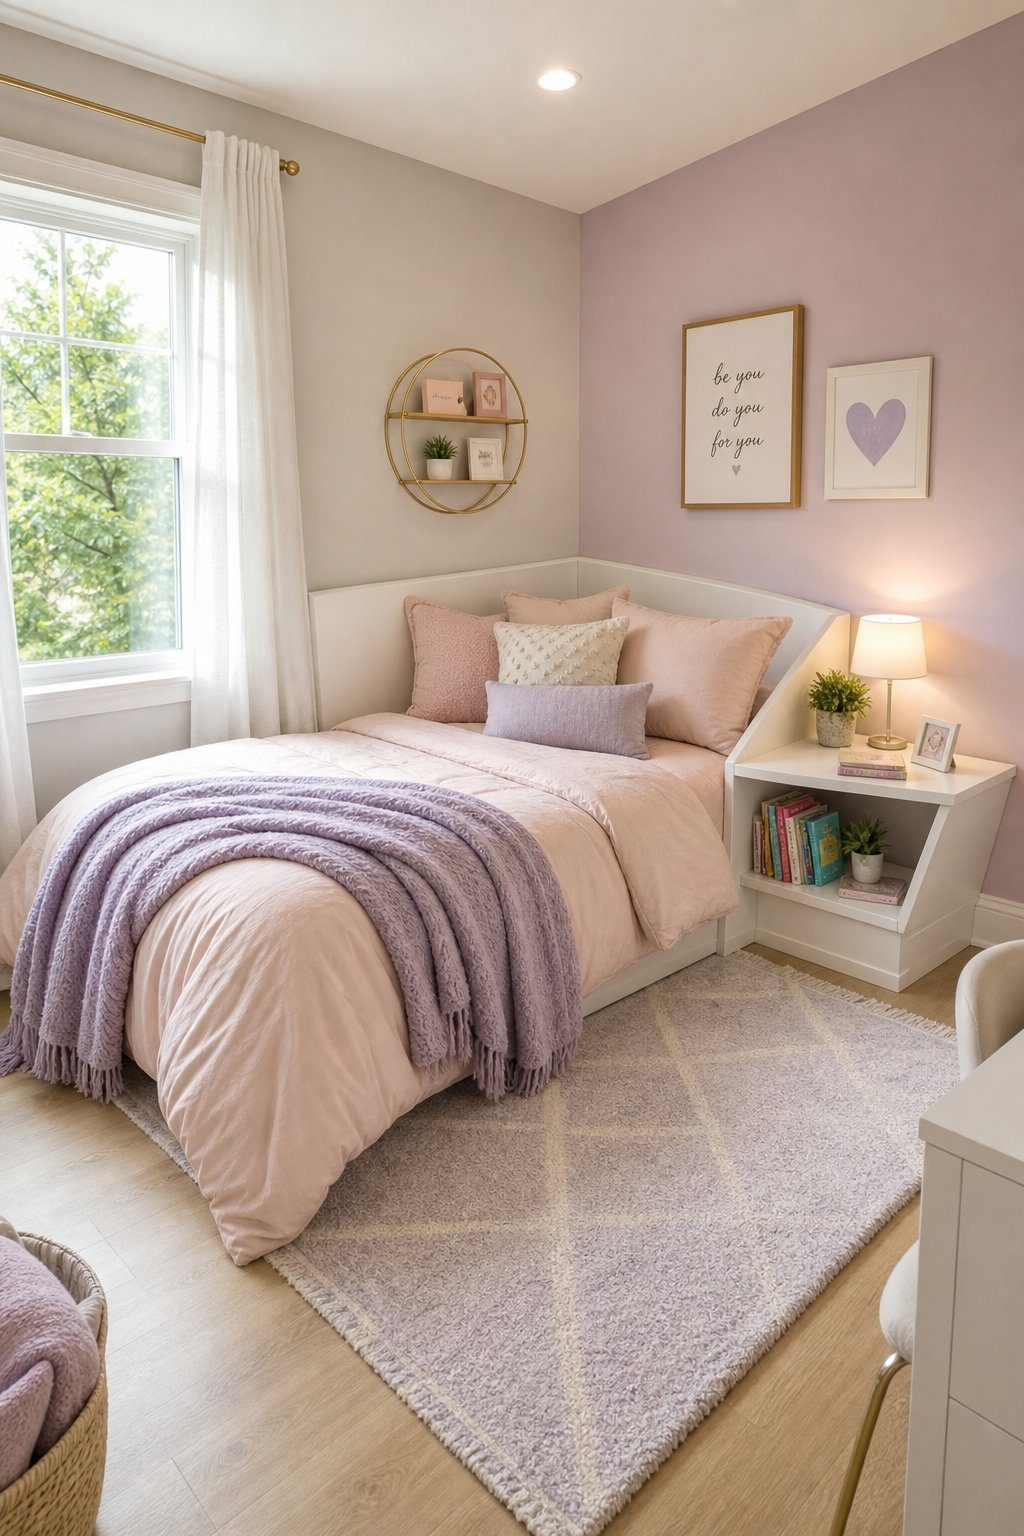
This works when a room feels lopsided because one full wall is taken up by a closet or door. Angle the headboard corner so the bed sits diagonally between two walls, foot pointing toward the center of the room.
Pull it a few inches off each wall so a slim angled shelf can tuck into the triangle behind the head. That shelf gives you a small landing for a lamp or a book without blocking anything. On the other side of the room, you free up a long, uninterrupted stretch of floor for a desk, a dresser, or just open space.
The 45° angle also softens what are usually the hardest, most awkward corners in a small room. The geometry feels intentional rather than improvised, which is most of what makes a room look considered.
5) Tuck a daybed under a gallery wall to combine sleep and seating without crowding
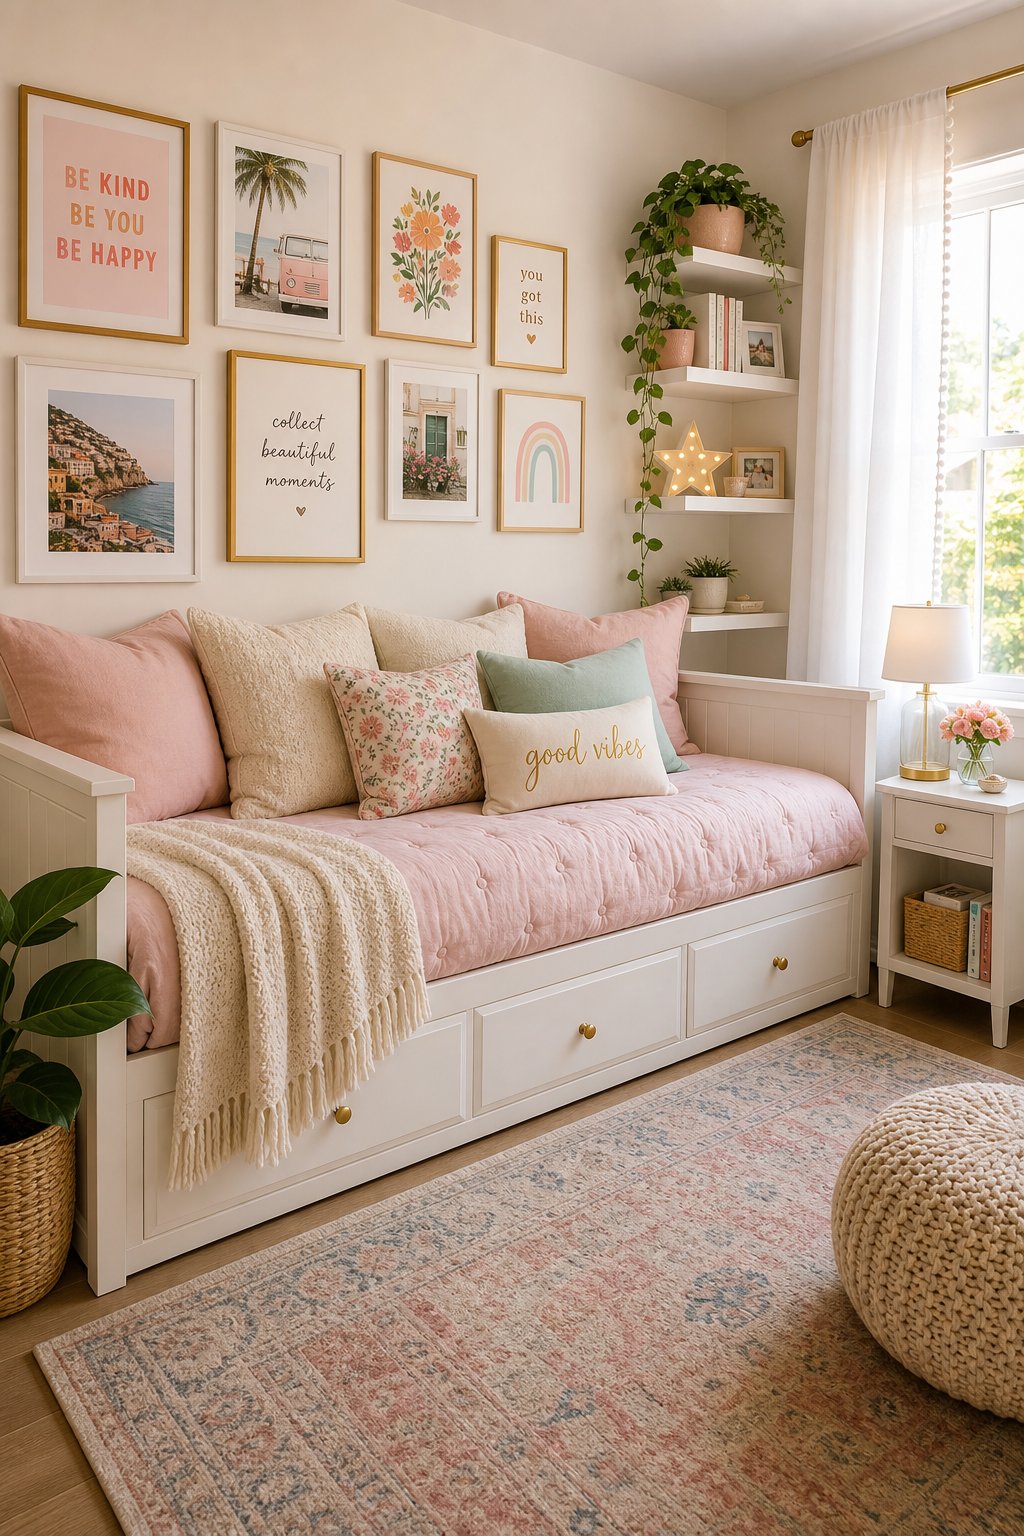
Rooms that need to do double duty - sleep at night, hang out during the day - often end up feeling like they do neither job well. A daybed along the long wall changes that. Position it with its back facing the room so it reads as a sofa during the day, and hang a loose gallery of art above it so the eye treats the whole arrangement as one finished element.
The gallery draws attention upward, which makes the daybed look like seating rather than a bed that was jammed against the wall. That frees the opposite side of the room for a desk or a small play zone without the space feeling cut in two.
Choose a low-profile daybed with narrow arms. Add throw pillows for the daytime look and a folded quilt for night. The room stays flexible without requiring any rearranging.
6) Slide the bed under a sloped ceiling with a low-profile storage headboard
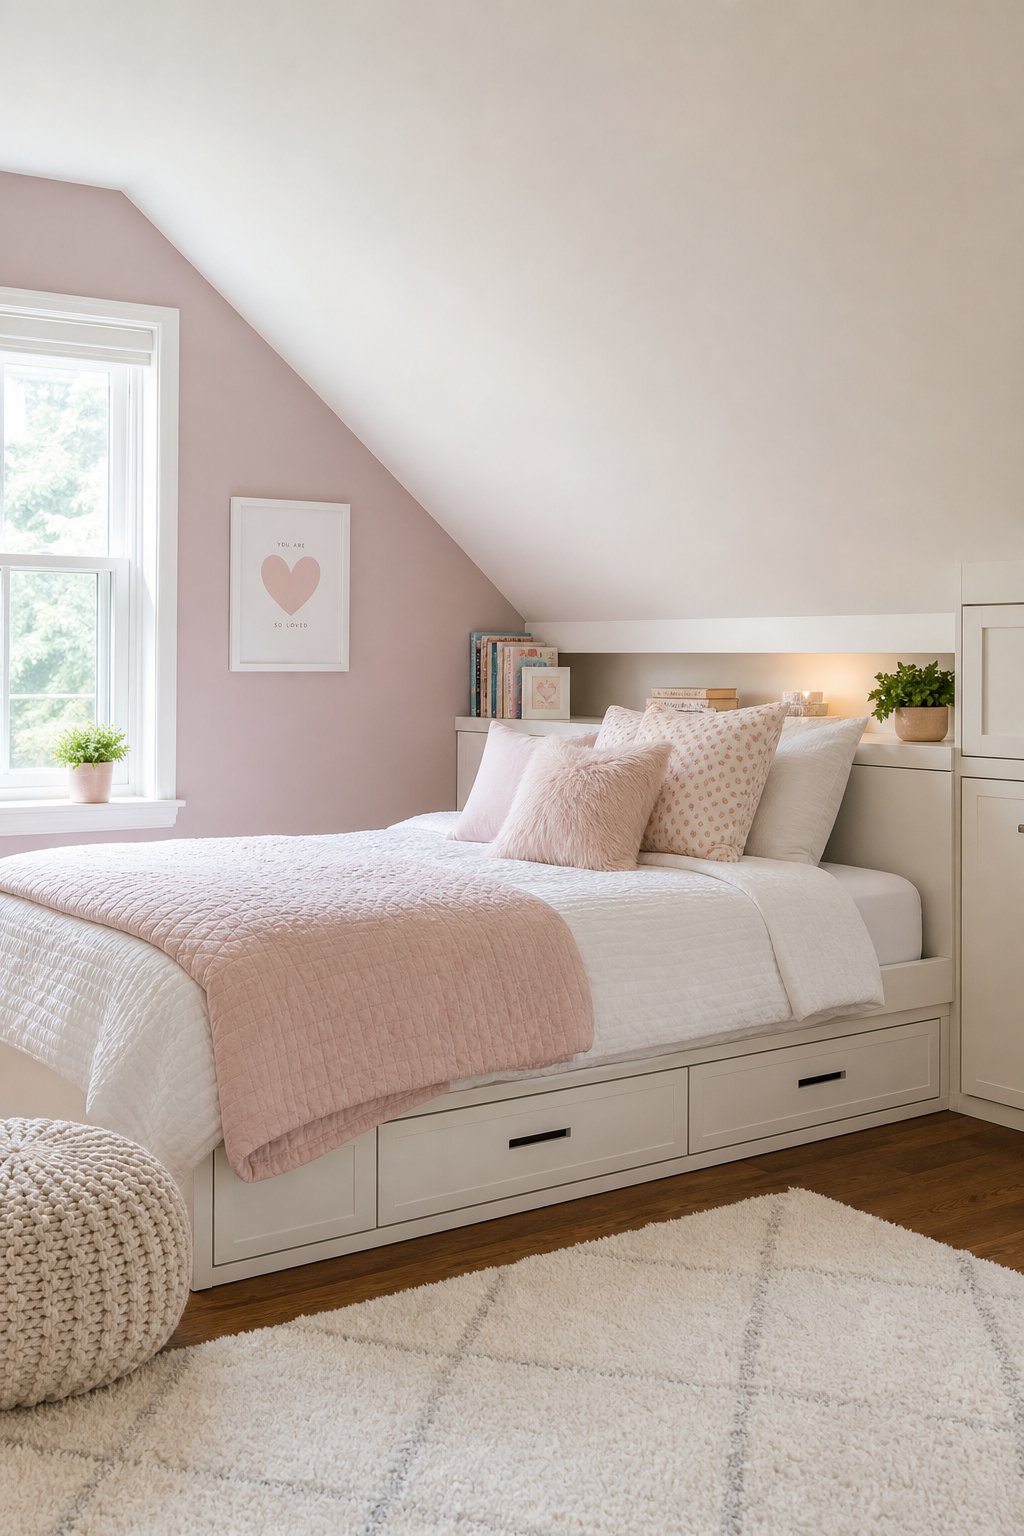
A sloped ceiling wall is easy to waste. Tall furniture won't fit, so people tend to leave it empty or jam in something awkward. Sliding the bed under the slope so the headboard sits at the lowest point is exactly the right call - it uses the area that nothing else can, and it frees the full-height wall across the room for a wardrobe, shelves, or a desk.
Choose a headboard with built-in shelves or small drawers so bedside storage stays within the sloped area. Keep the bedding light-colored, and the headboard finish simple. When you do that, the slope reads as a cozy architectural feature rather than a ceiling that got in the way.
"The rooms that feel the most pulled together are usually the ones where someone made peace with what the architecture was actually doing."
7) Raise a queen bed on a low platform with built-in drawers to solve storage and scale together
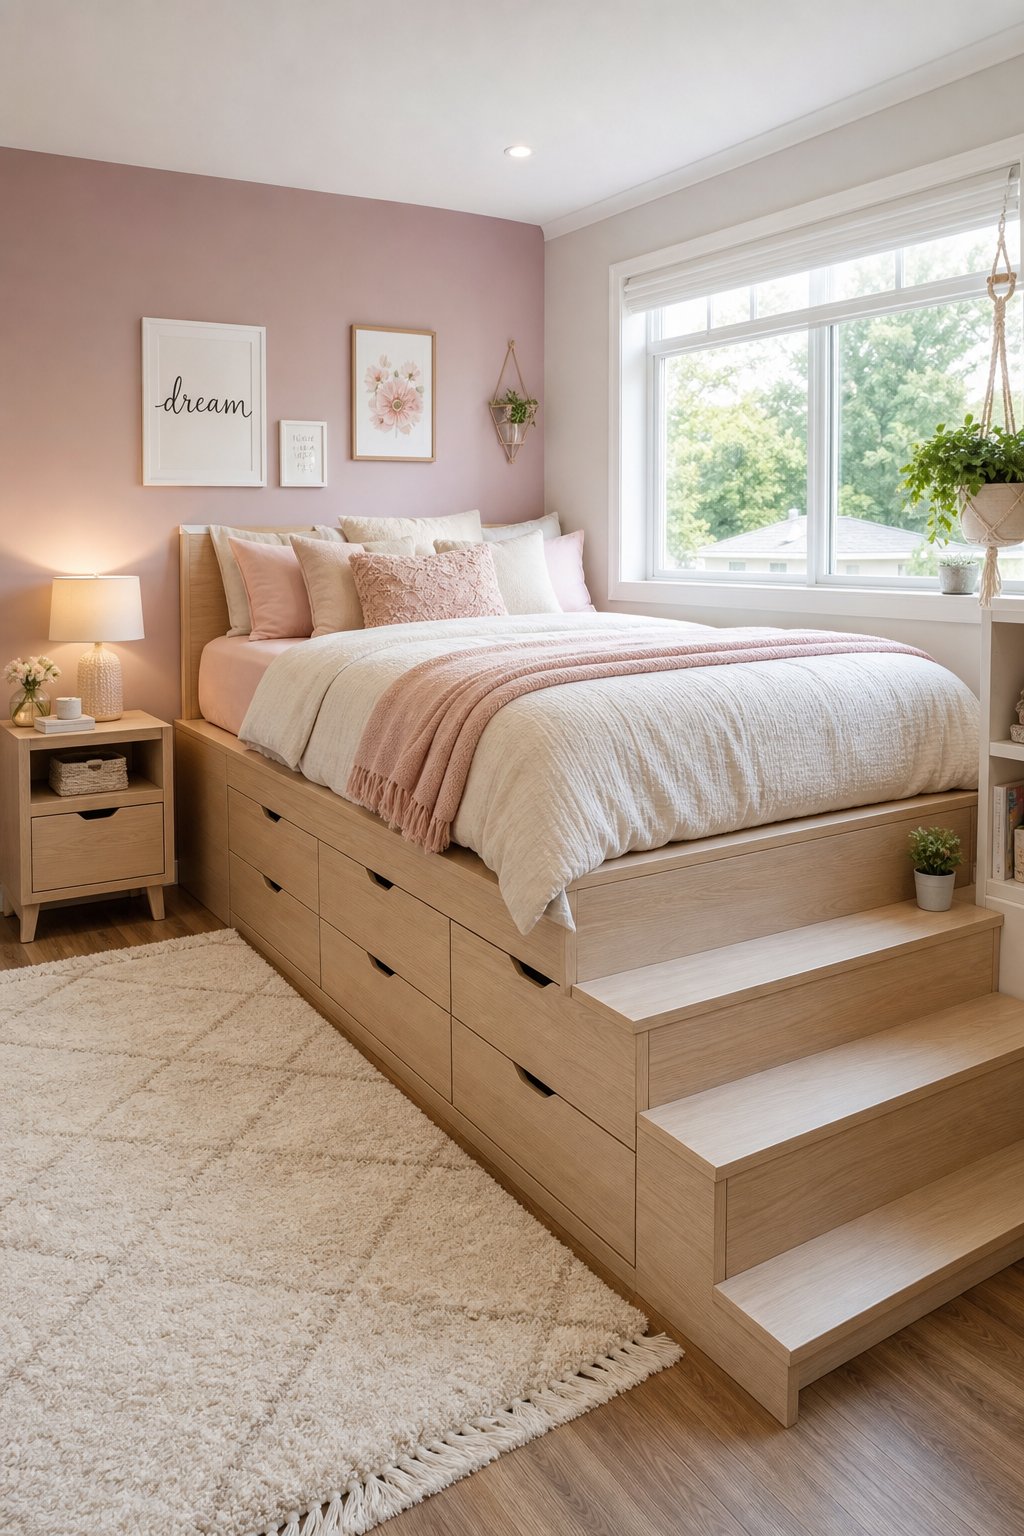
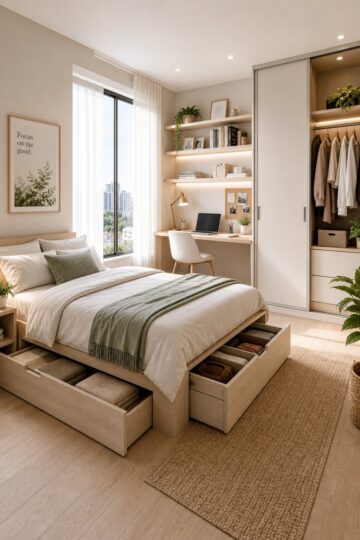
Tall ceilings and crowded floors are a common mismatch in older homes. Raising the queen bed on a low platform draws the eye up just enough to balance the vertical space while adding drawer storage along the sides and foot that replaces the need for extra dressers.
Push the platform against the longest wall so the bed reads like a built-in. That frees walking space on the remaining sides and leaves room for a small desk or reading chair across from the bed. Keep the platform width close to the mattress - too much overhang and the whole thing starts to look chunky. A slim headboard and matching bedding pull it together so the platform feels purposeful, not bulky.
8) Place twin beds on opposite long walls with a central rug to unite a shared room
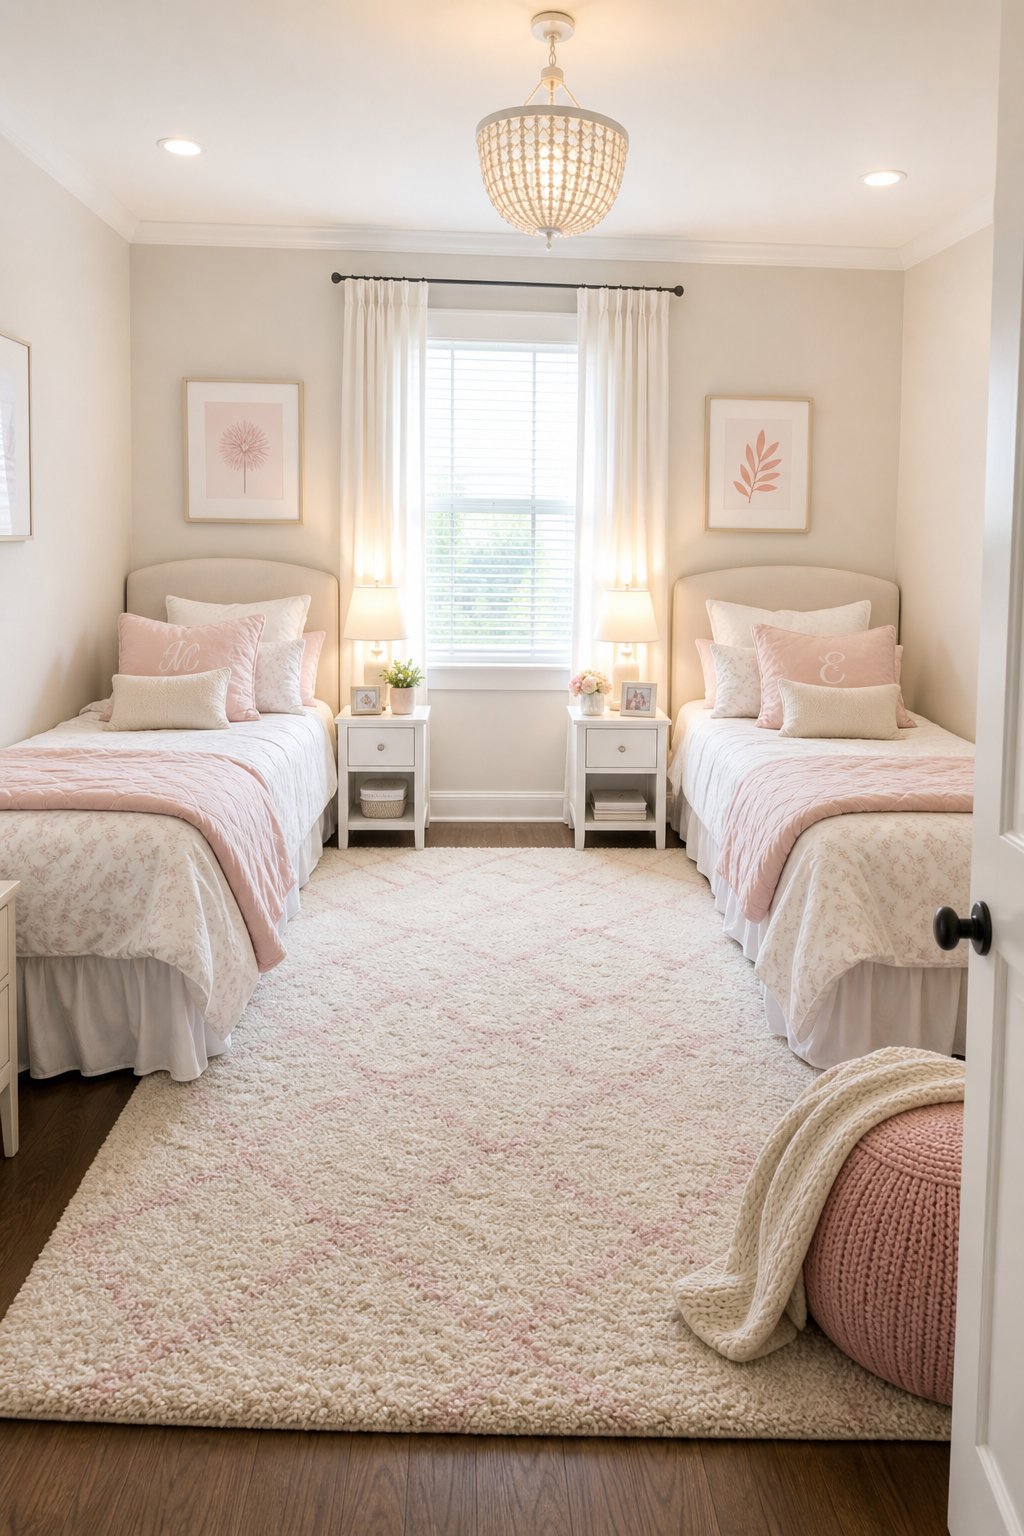
Side-by-side twins in a long room almost always feel crowded. Opposite walls give each bed its own territory, free the center for movement, and create a natural shared zone in between.
Lay a large rug in the middle that slides under each bed by at least a foot. That's the step most people skip, and it's the one that actually makes the room feel unified rather than divided. The rug gives the two sleeping areas a common ground so the room reads as one space instead of two separate corners.
Add wall-mounted lights and small shelves at each bed to keep the floor clear. Storage and lighting at the edges leave the center open, which is where shared rooms most need room to breathe.
9) Tuck the bed into an alcove and hang sash curtains to frame the sleeping area
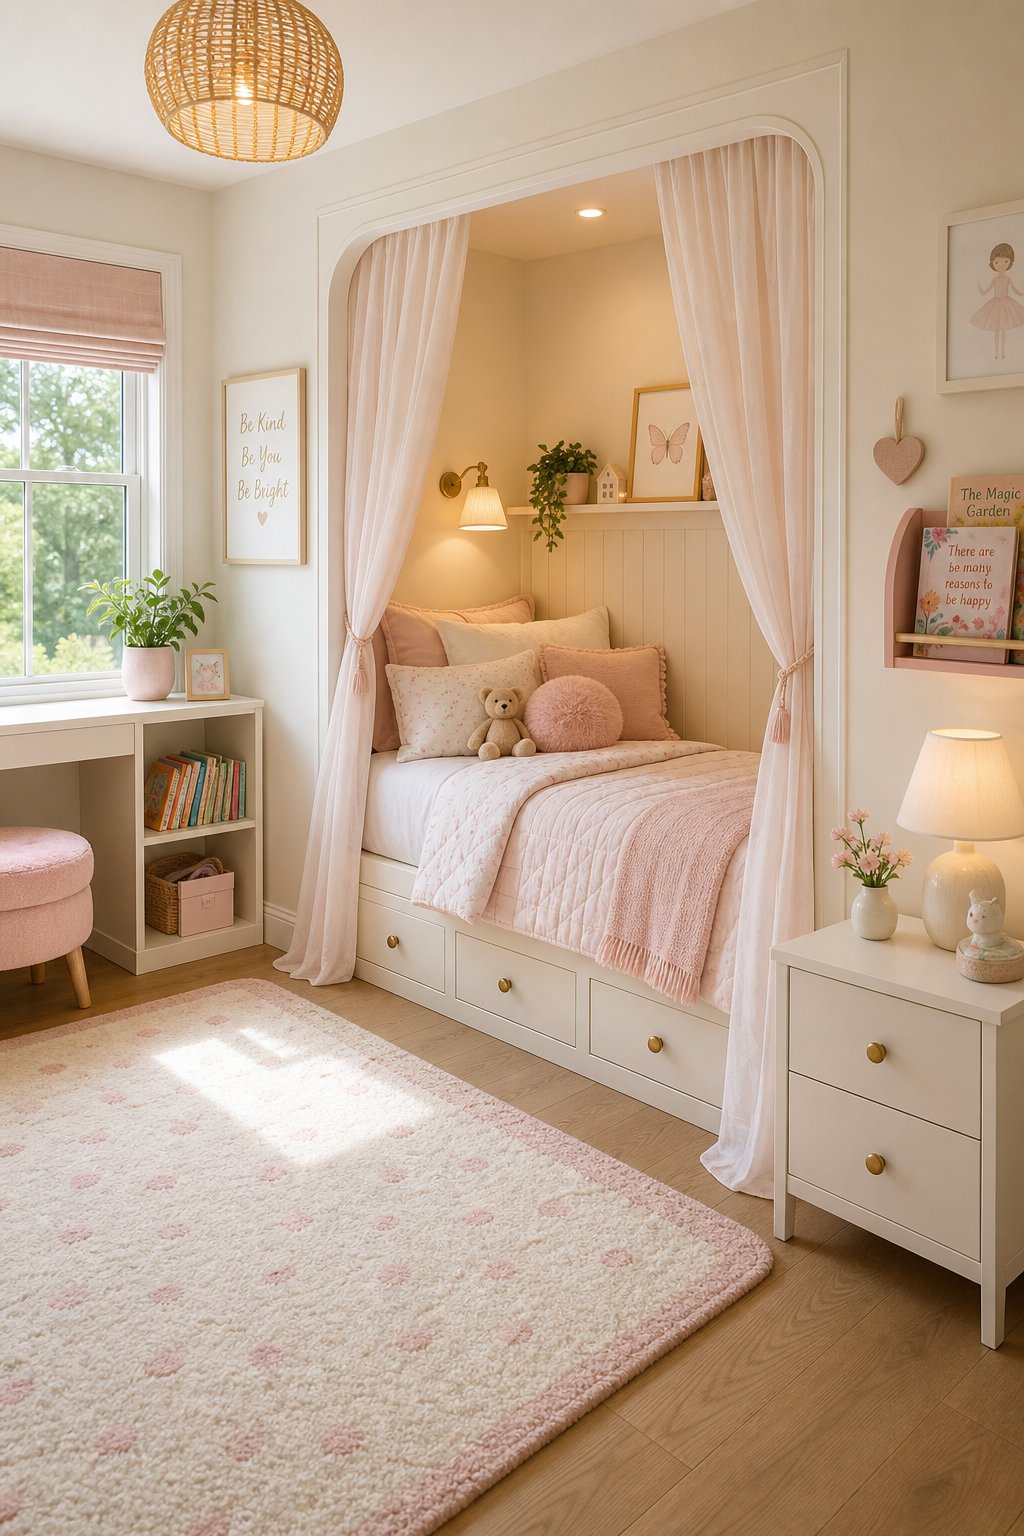
A shallow niche or wraparound corner that feels like wasted space is actually ideal for a bed. Push it in so the sleeping area becomes its own zone, separate from the rest of the room. You gain floor space and clearer sightlines through the main area without removing anything.
Mount lightweight sash curtains on a slim track fitted inside the alcove opening. Close them for sleep, pull them back during the day to open the room up fully. The fabric softens the hard edges of the alcove and hides any rough storage or uneven walls behind the bed. Two slim wall lamps keep the bedside functional without adding surface clutter.
10) Float the bed in front of a built-in wardrobe with wall-mounted swing-arm lights
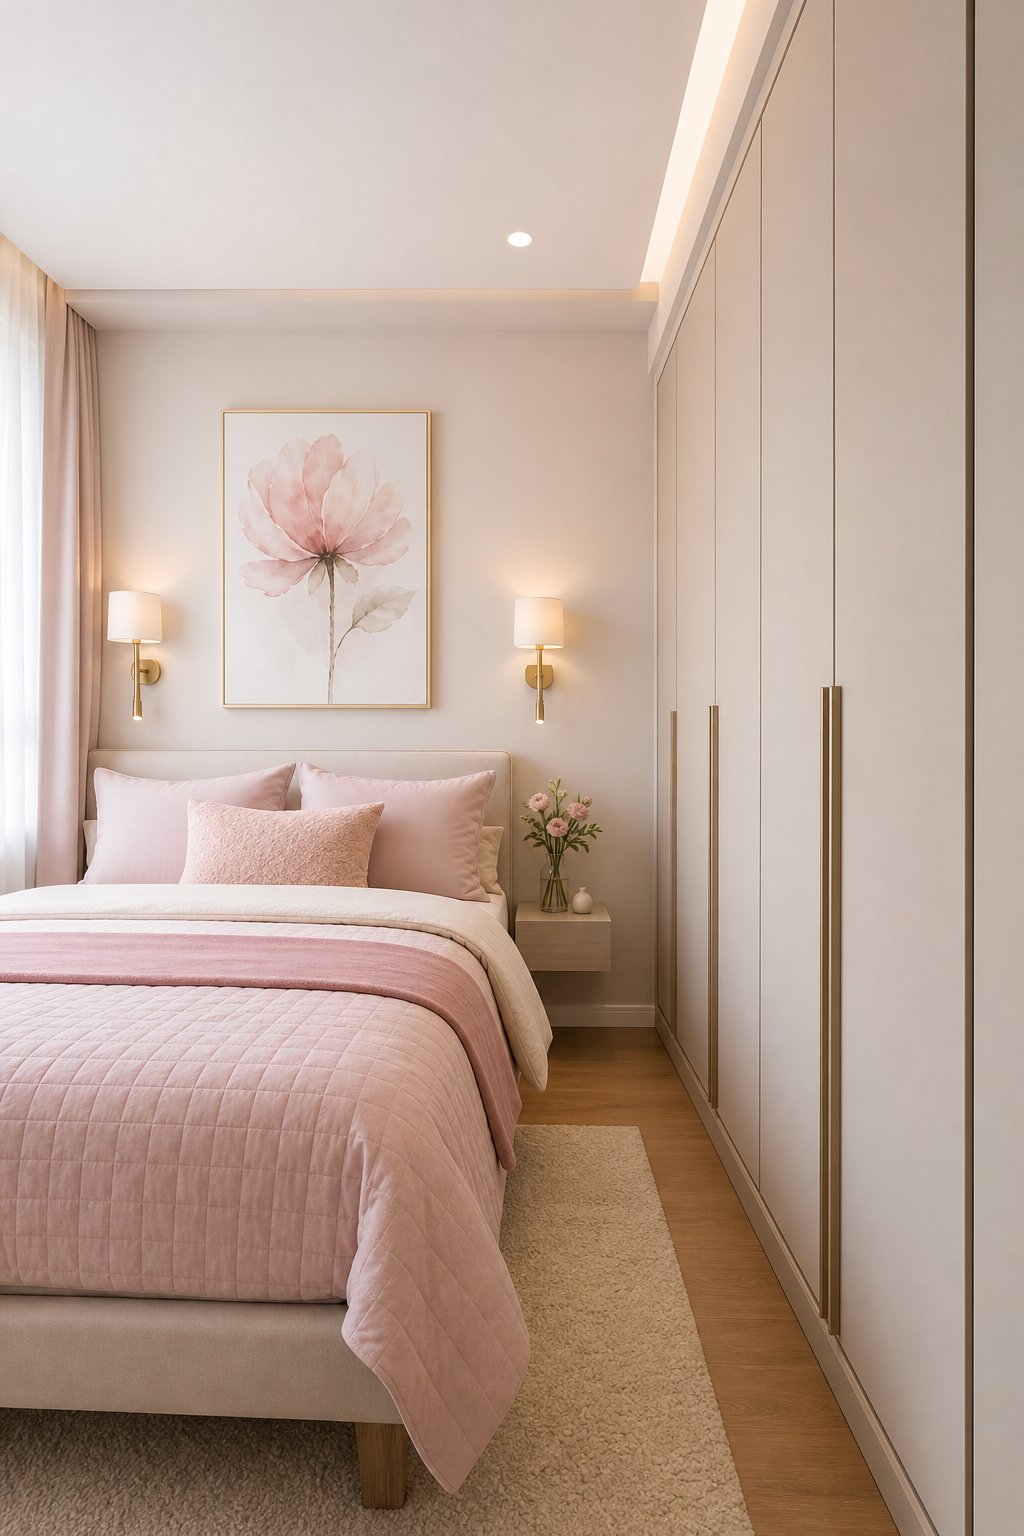
When the wardrobe covers most of a wall and the room feels pinched, the instinct is to push the bed somewhere it doesn't quite fit. A better option: place the bed a few inches in front of the wardrobe with a narrow passage behind so the doors remain usable. You may angle it slightly to make stepping through the gap easier, but it works.
Replace bedside lamps with swing-arm lights mounted at head height on either side. Freeing up the nightstand surface - even a small one - makes the area feel significantly less cluttered. The whole setup creates a cozy sleeping nook while keeping storage accessible and the sightline across the room open.
11) The longest uninterrupted wall is almost always the right starting point
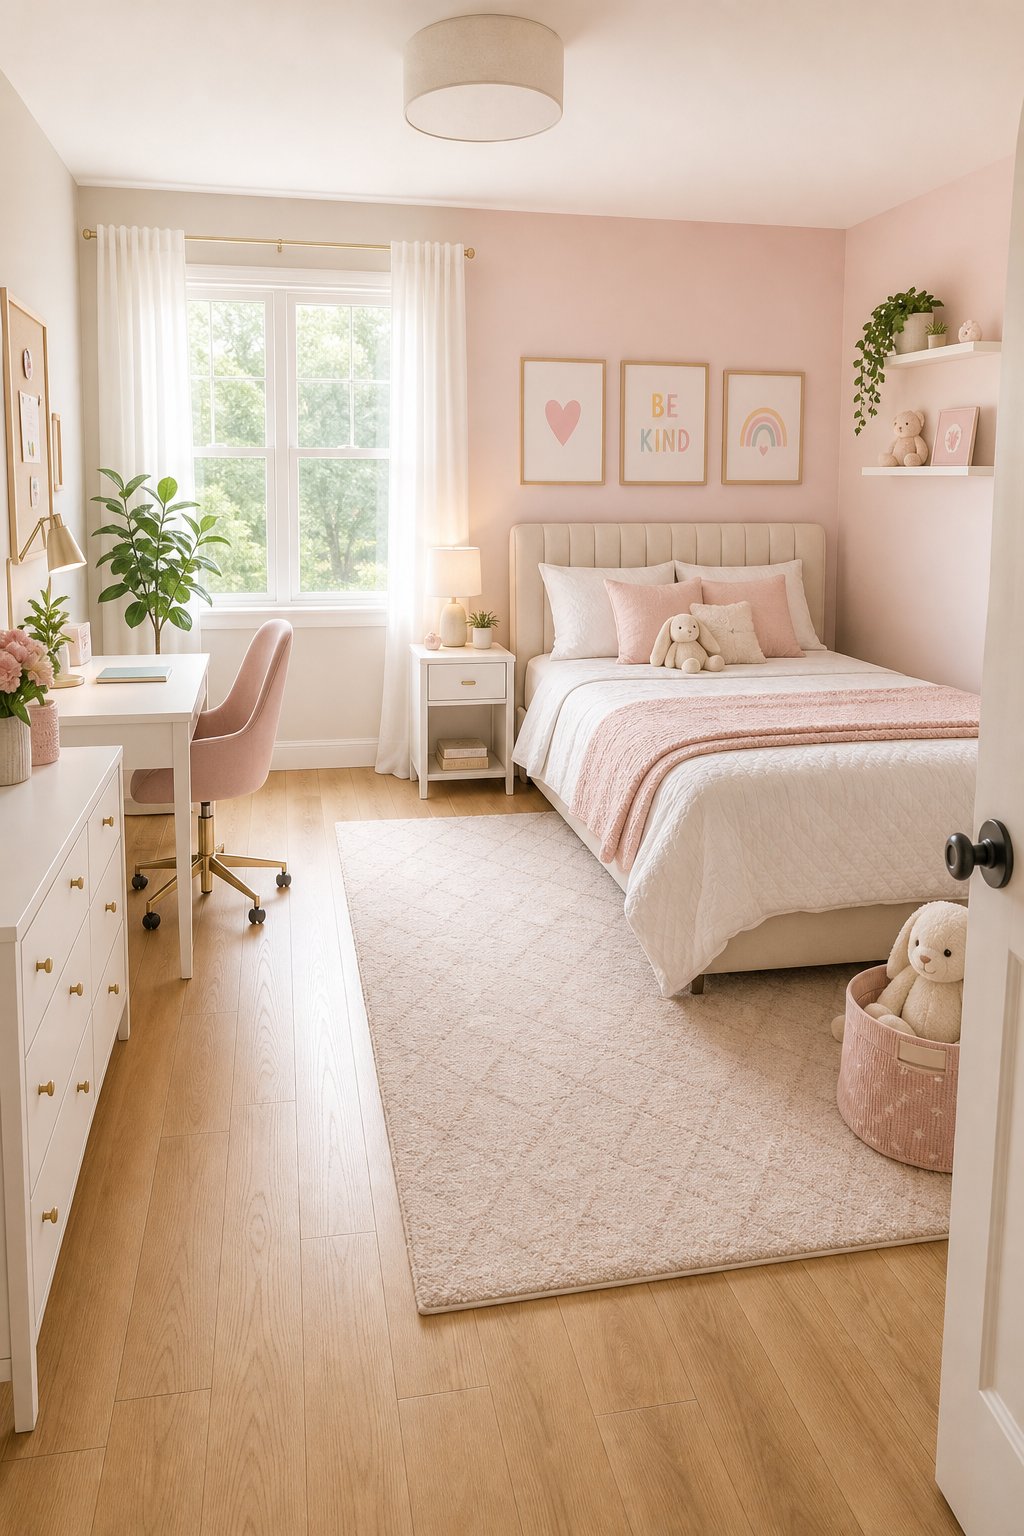
Rooms with no obvious anchor point tend to get the bed placed by default - wherever it fit last time, or wherever the movers put it. Starting fresh means finding the longest wall with no doors or windows and placing the bed there first.
That placement clears direct paths to the closet and door without negotiating around furniture. Slide the bed toward one end if you need a nightstand on one side and a narrow desk on the other, creating a sleep zone and a work zone along the same wall.
The shorter walls then become available for a dresser, a bookshelf, or a reading chair. Light from the windows moves through the room without the bed interrupting it, and daily traffic flows in predictable, easy lines.
12) Orient the bed so the door is visible from the mattress
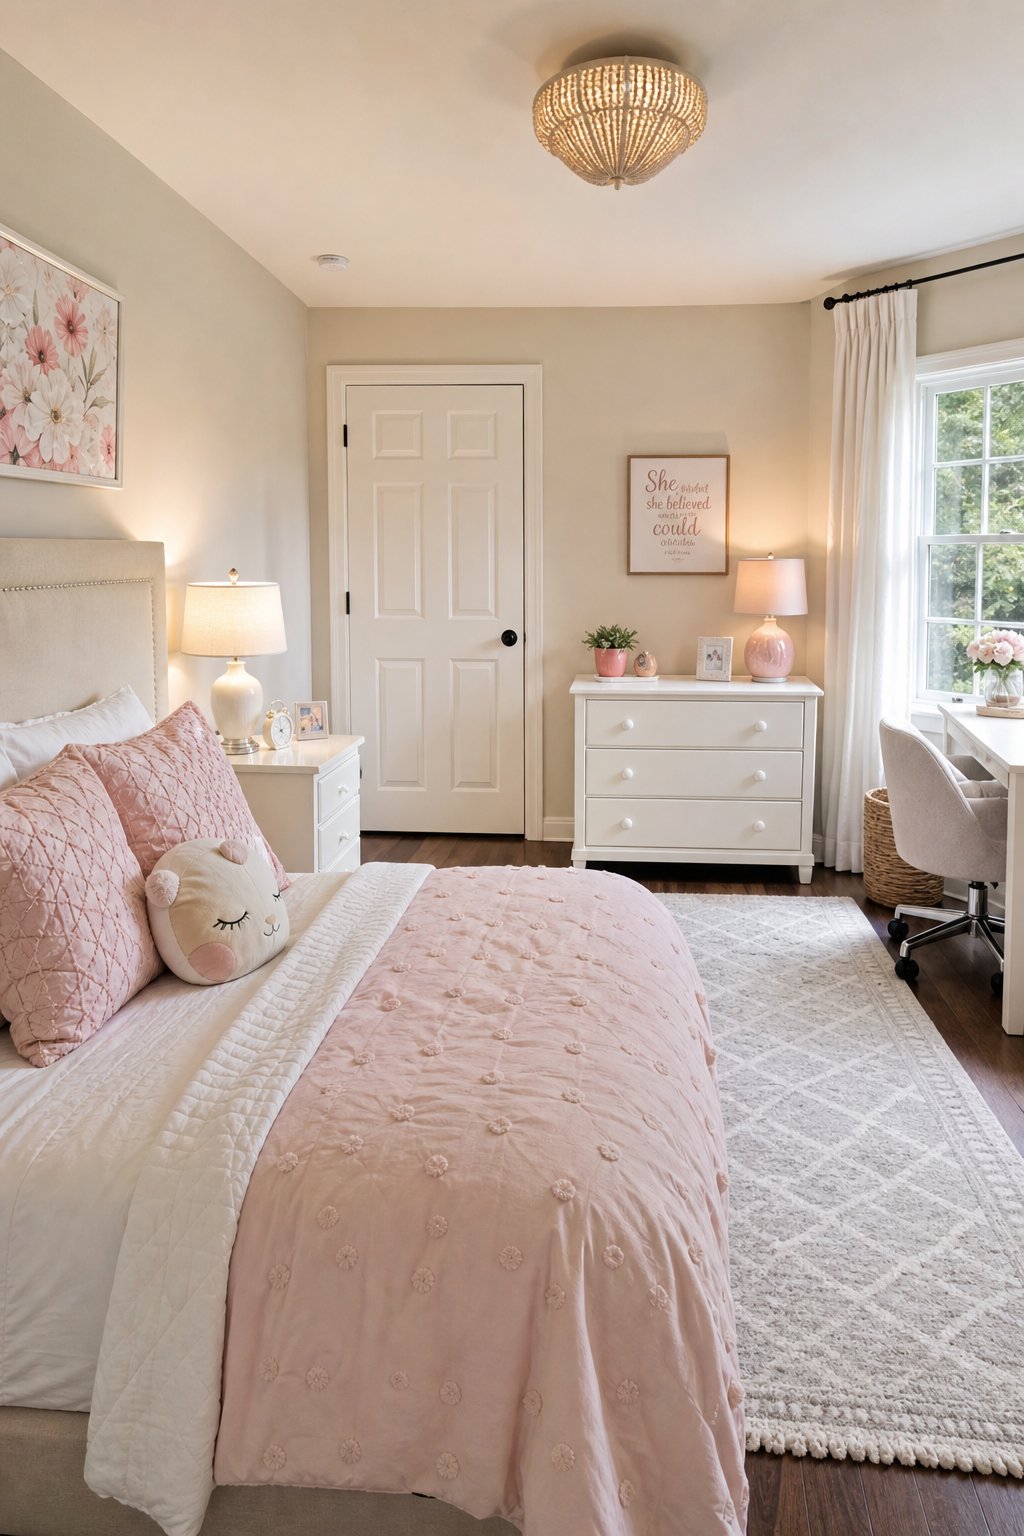
This one matters more than most people expect. A bed that faces away from the door creates a low-level sense of unease that's hard to explain but easy to feel, especially for children and teenagers. Moving the bed so the door sits in the sightline from the mattress makes the room feel settled.
The practical benefit is real too: the layout frees corners near the door for a dresser or desk and keeps entry paths clear. If centering the bed on a wall would push the door out of view, shift it slightly off-center. The visual security of seeing the door is worth more than the symmetry you'd lose.
13) Place the bed perpendicular to a window to get daylight without the draft
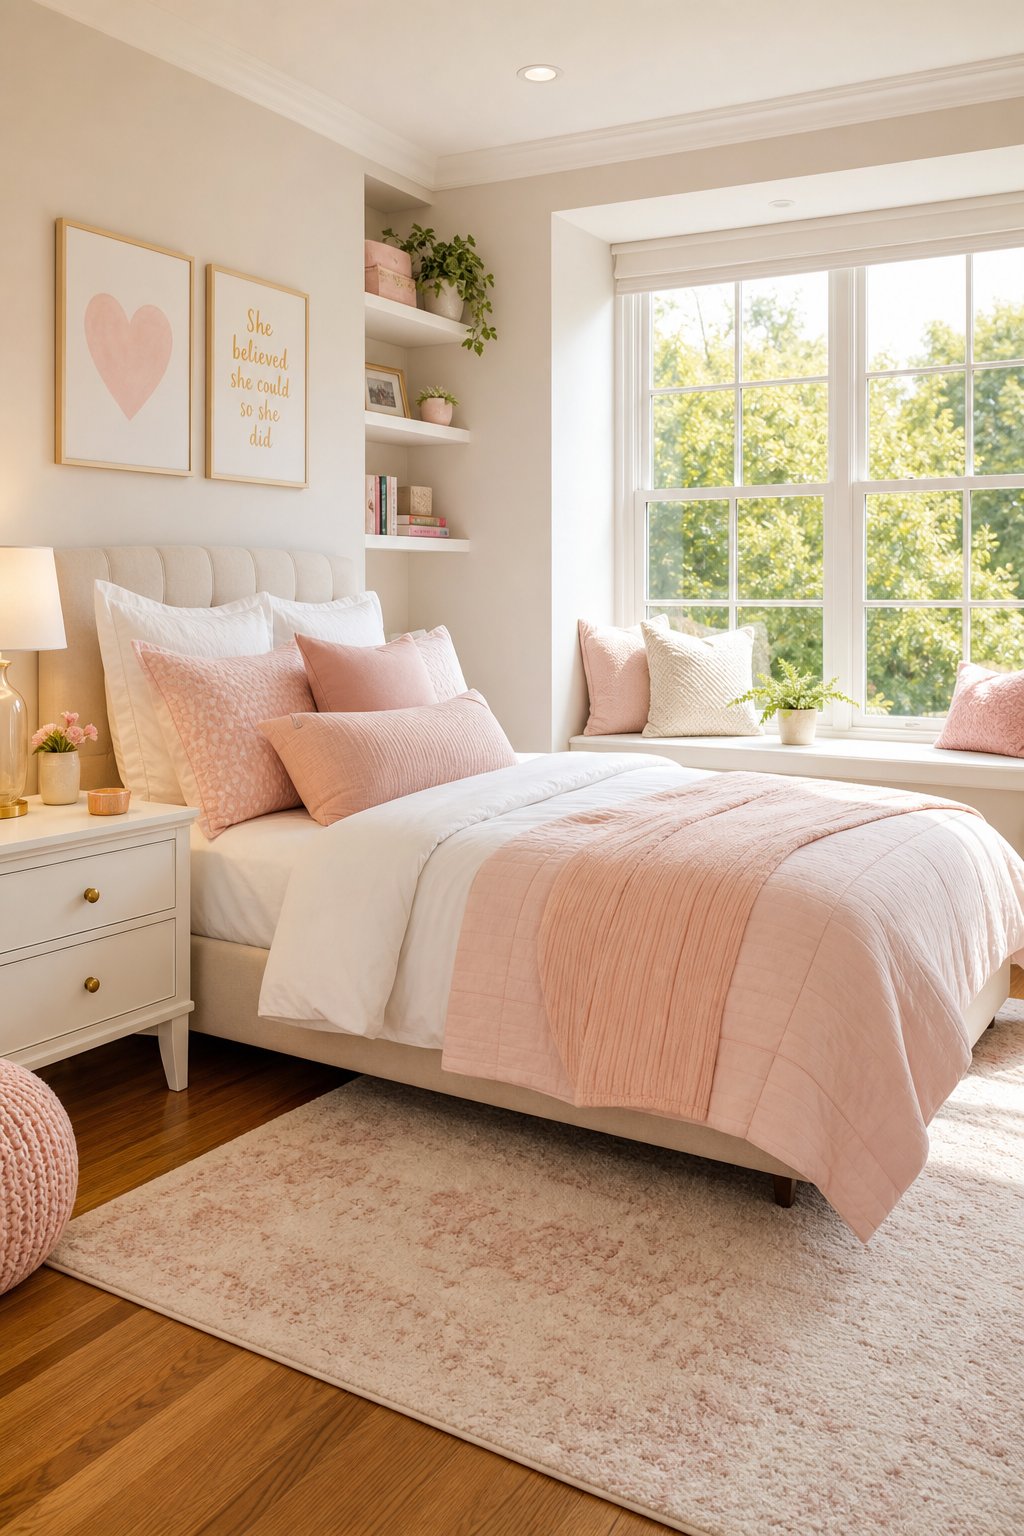
Sleeping directly under a window causes two problems: drafts in winter and morning sun straight in the face. Placing the bed perpendicular to the window solves both. The headboard goes on the adjacent wall and the foot points toward the window, so daylight falls across the bedside rather than onto the pillows.
Slide the bed a few inches off the window wall so curtains and blinds can close completely. That keeps airflow manageable and lets you use the morning light for reading without squinting.
The long wall this frees up is ideal for a dresser or shelving, and the perpendicular position creates a natural walking zone along one side of the bed. Small rooms in particular benefit from the way this arrangement keeps the window wall visually open.
14) A slim daybed or trundle along the window wall keeps the center of the room clear
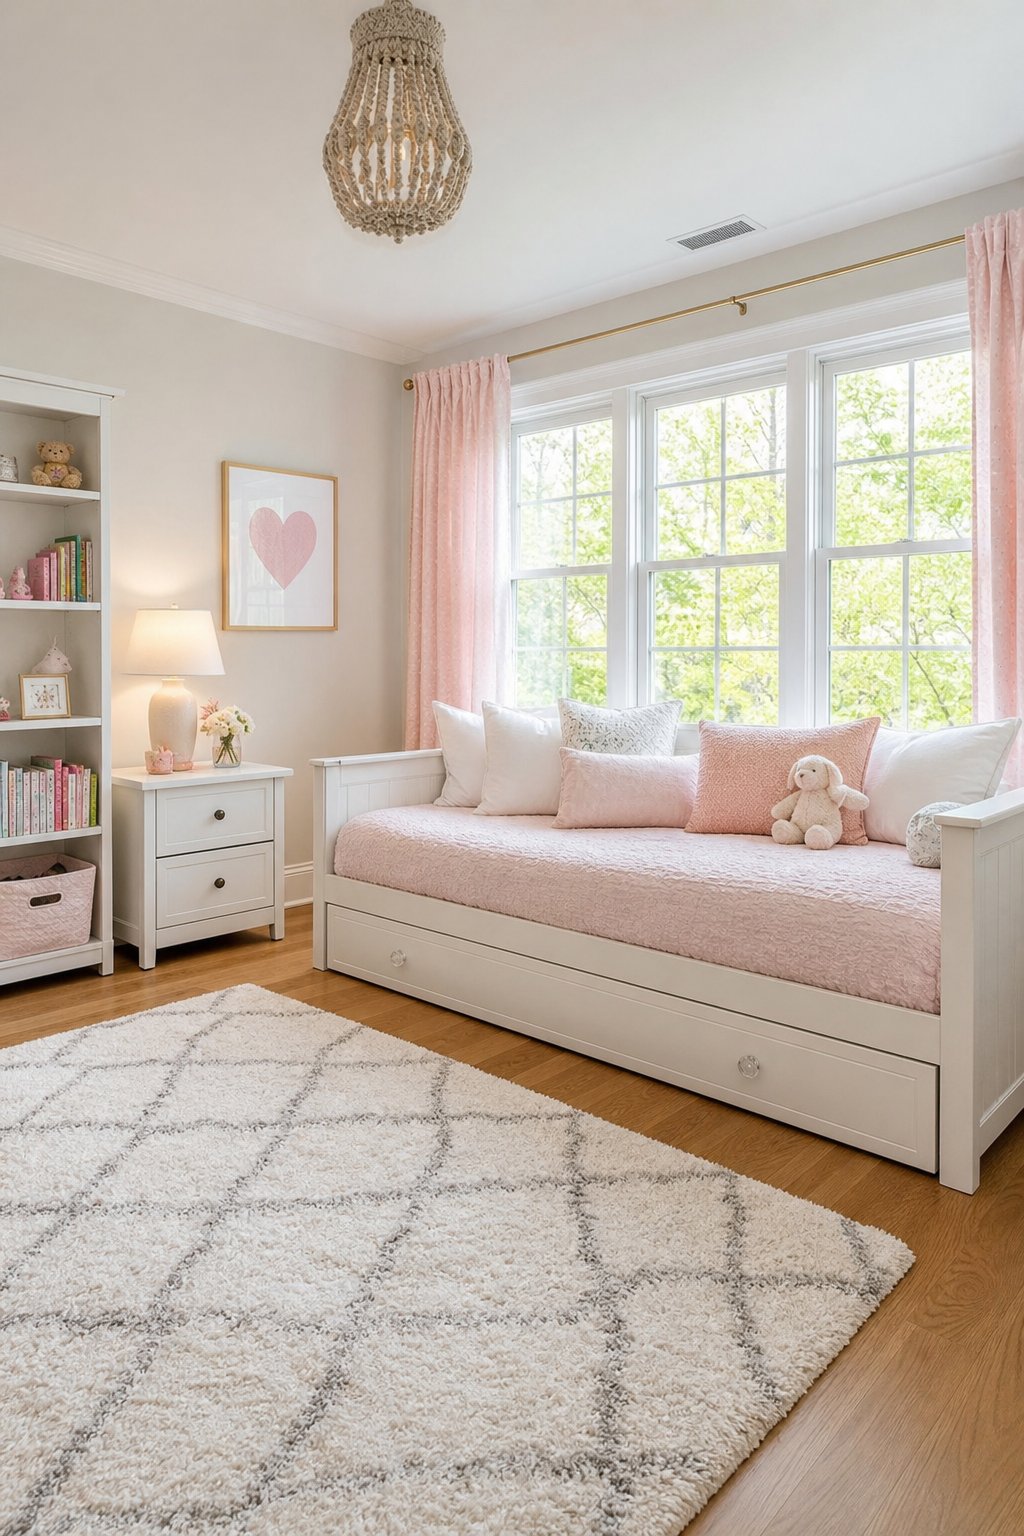
Narrow rooms with a long window wall have a natural solution hiding in plain sight. A slim daybed or trundle pushed against the window keeps the center of the room completely clear - no bed sticking into the walking zone, no furniture blocking the path between the door and the closet.
Push the daybed tight to the wall and hang a low shelf or a slim curtain rod above the window to give the area some visual weight. The middle of the room stays free for a desk, a rug, or a play area, and circulation between the door and closet runs smoothly along the opposite side.
A trundle tucked underneath handles overnight guests without any rearranging. The room feels less crowded because the largest piece of furniture is at the perimeter, exactly where it should be.
15) Center a twin bed on a painted feature wall to create scale without extra furniture
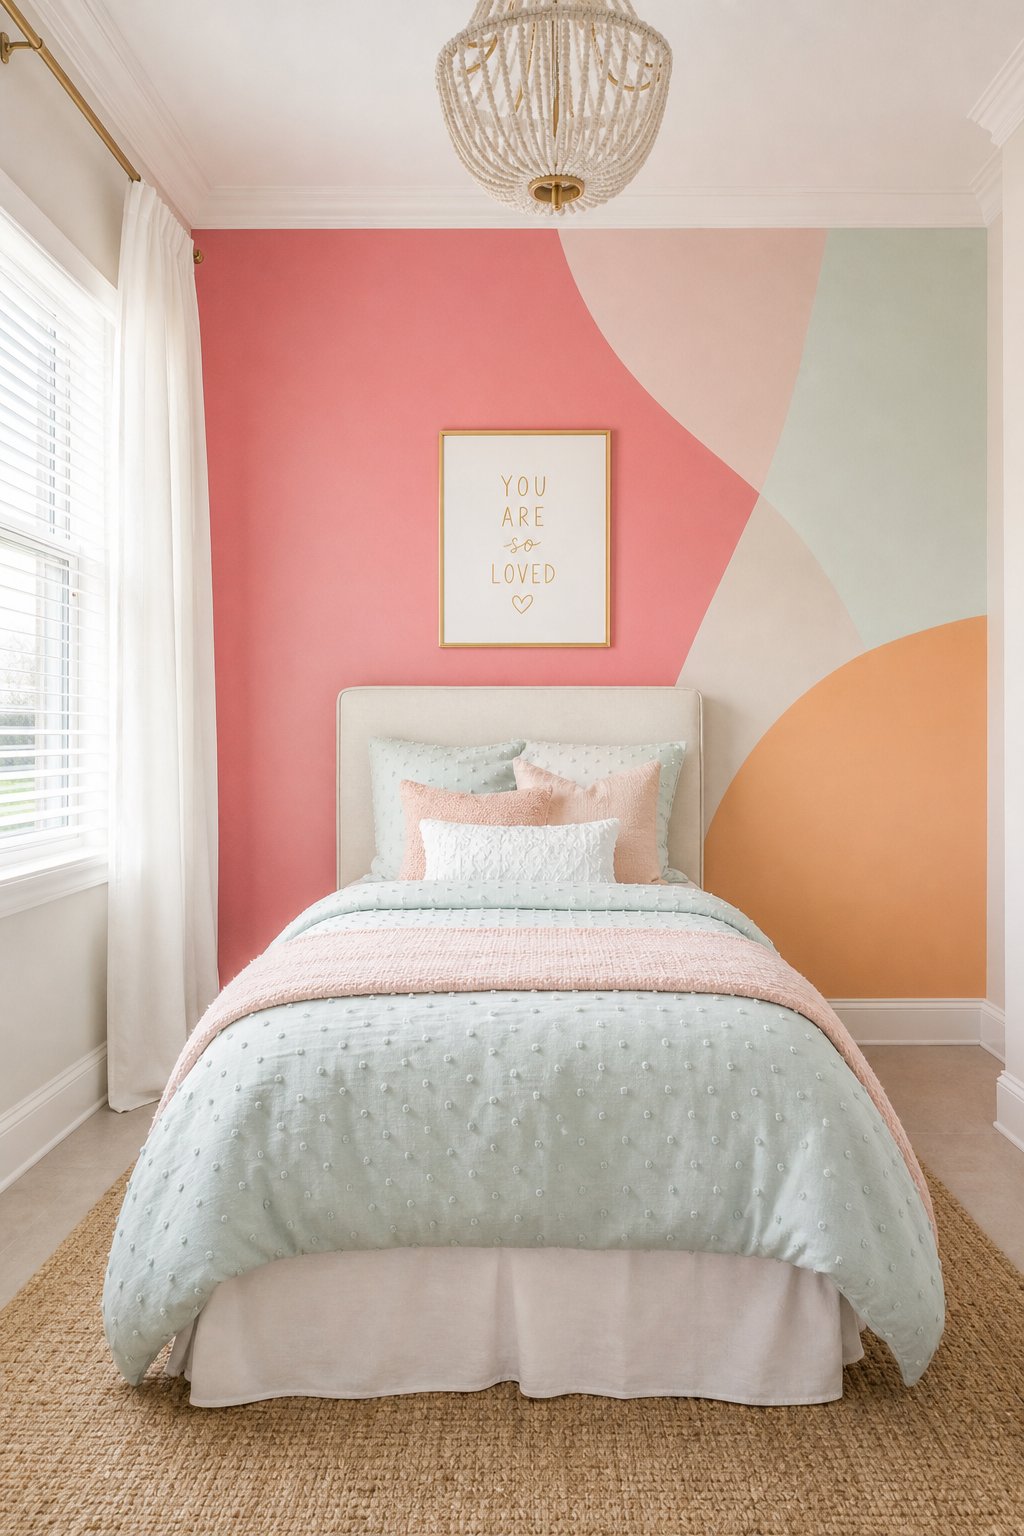
Oddly shaped or very narrow rooms often get filled with furniture to compensate for the awkward proportions. That almost always makes things worse. Centering a twin bed on a painted feature wall and leaving the corners relatively clear works better.
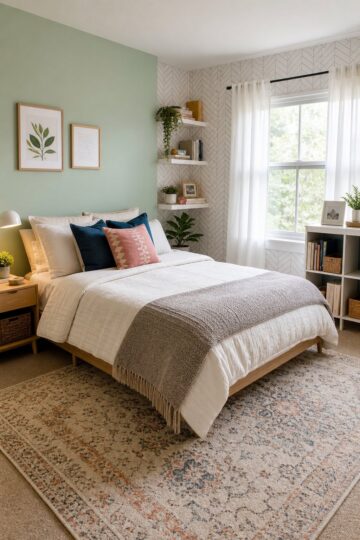
Paint a rectangle or a simple wide stripe behind the bed that's slightly wider than the mattress. Center the bed on that panel so the wall frames it. The painted shape gives the bed a sense of scale and purpose, and it quietly hides any asymmetry elsewhere in the room because the eye goes straight to the painted area.
Circulation stays clear on both sides, and corners open up for a small desk or a couple of baskets. The room reads as intentional because there's a clear focal point, not a gap where furniture should probably be.
16) Slide the bed under a lofted shelf to reclaim vertical space and clear the bedside surface
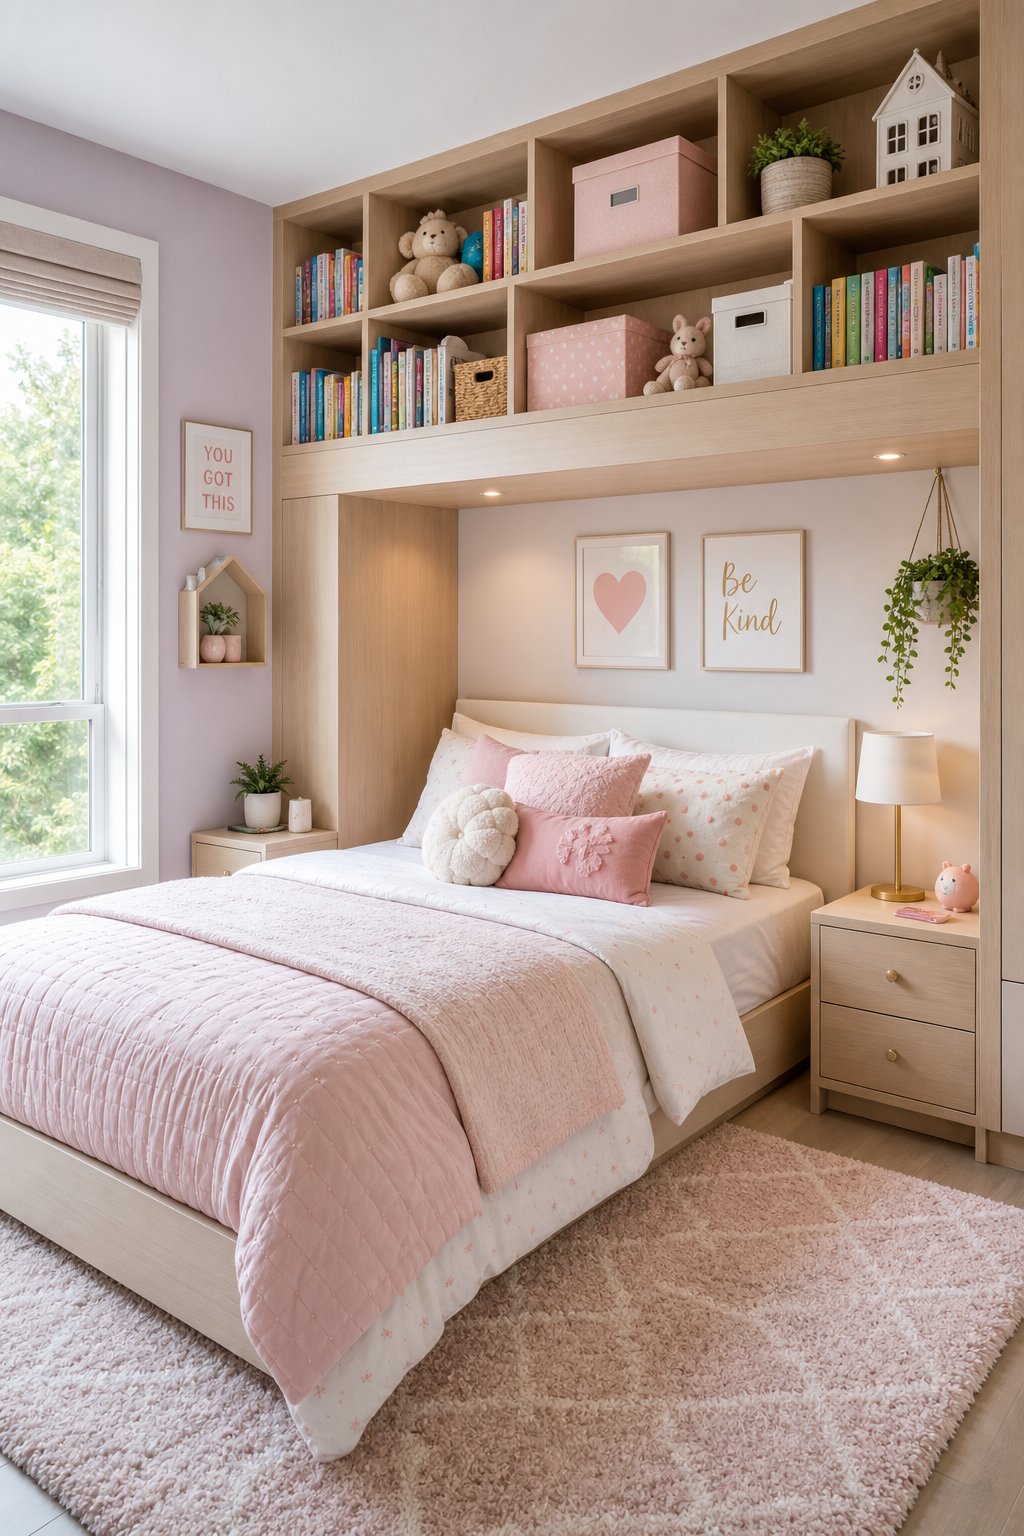
Crowded bedside tables are often a storage problem disguised as a styling problem. When everything that won't fit elsewhere ends up next to the bed, the solution isn't a bigger nightstand - it's getting that overflow off the floor plane entirely.
Mount a shallow shelf across the head wall at arm's reach above the mattress, and tuck the bed underneath. Use the shelf for baskets, folded clothes, or a few books. The visual clutter moves up and back, where it stops competing with the rest of the room.
Keep the lower edge of the shelf at least 18 inches above the mattress for comfortable headroom. A slim shelf profile matters here. The room feels cleaner because vertical space that was doing nothing is now doing something useful.
17) Place the headboard against the closet wall and add pendant lights to free the surface area
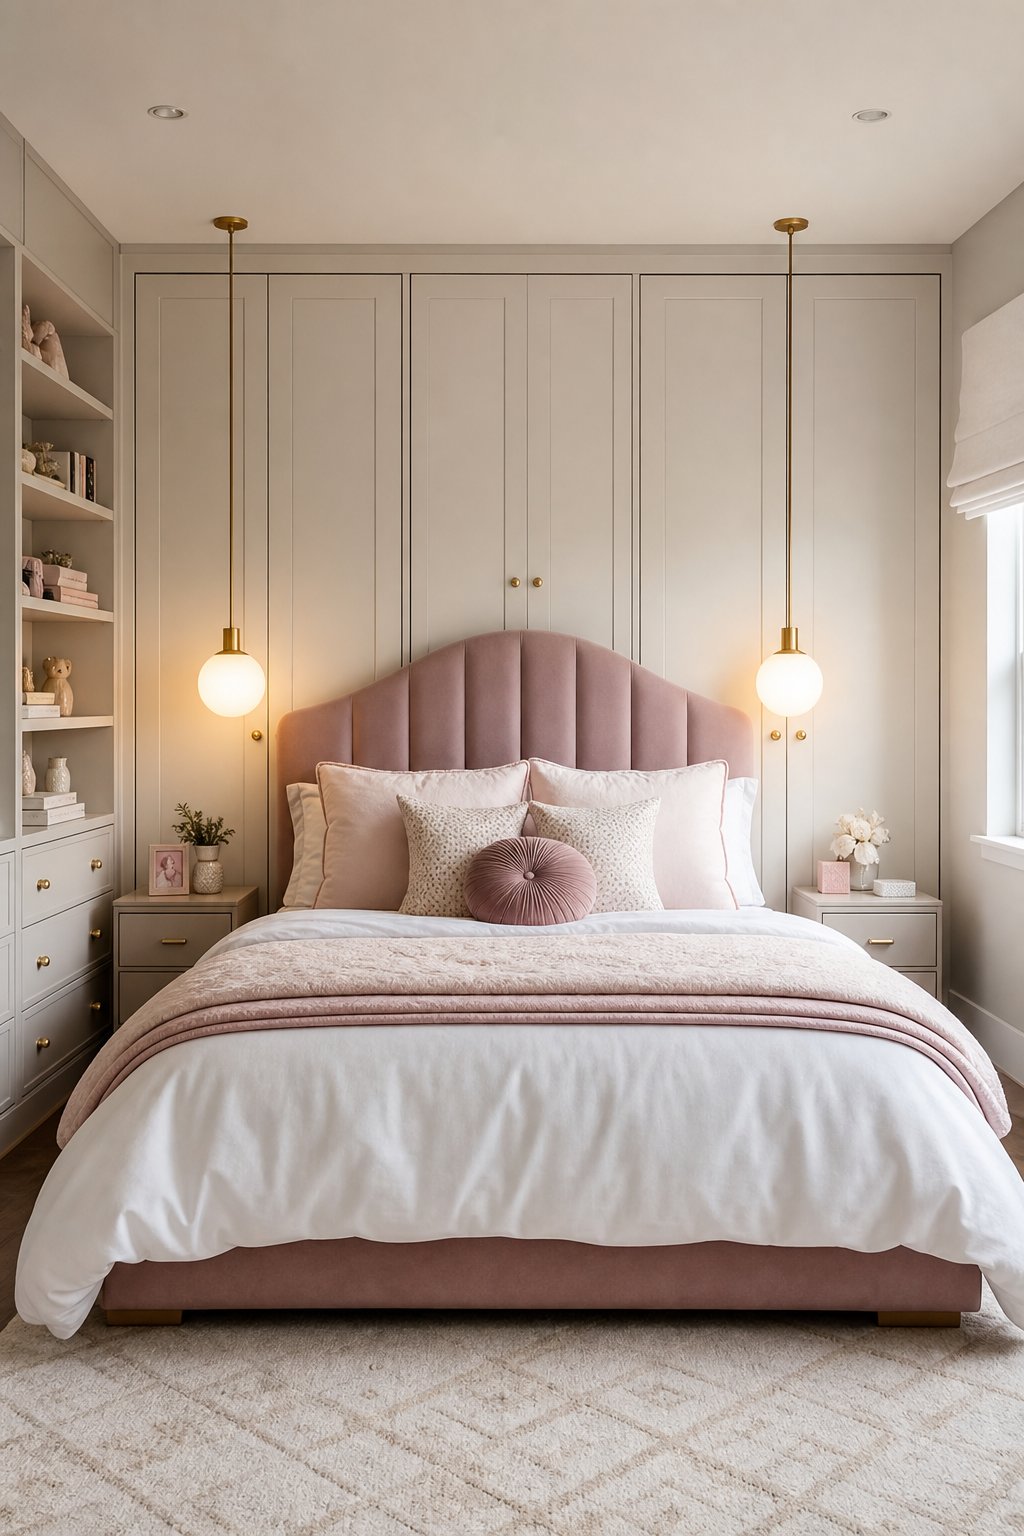
Long closet walls often get overlooked as a headboard position because the wardrobe doors seem to demand the space. But if the closet doors open outward rather than sliding, the headboard can sit against that wall without blocking access - and it keeps the bed out of the main traffic zone.
Mount pendant lights on either side of the bed instead of using table lamps. This clears the small nightstand surface for the things that actually need to be there: a book, a phone, a glass of water. Pendants also give consistent reading light without the lamp base taking up any table space at all.
Choose slim pendants that hang just above pillow level. The result is a tidier sleeping area and a bed that feels anchored to the wall without consuming extra floor or surface space on either side.
How bed placement shapes the rest of the room
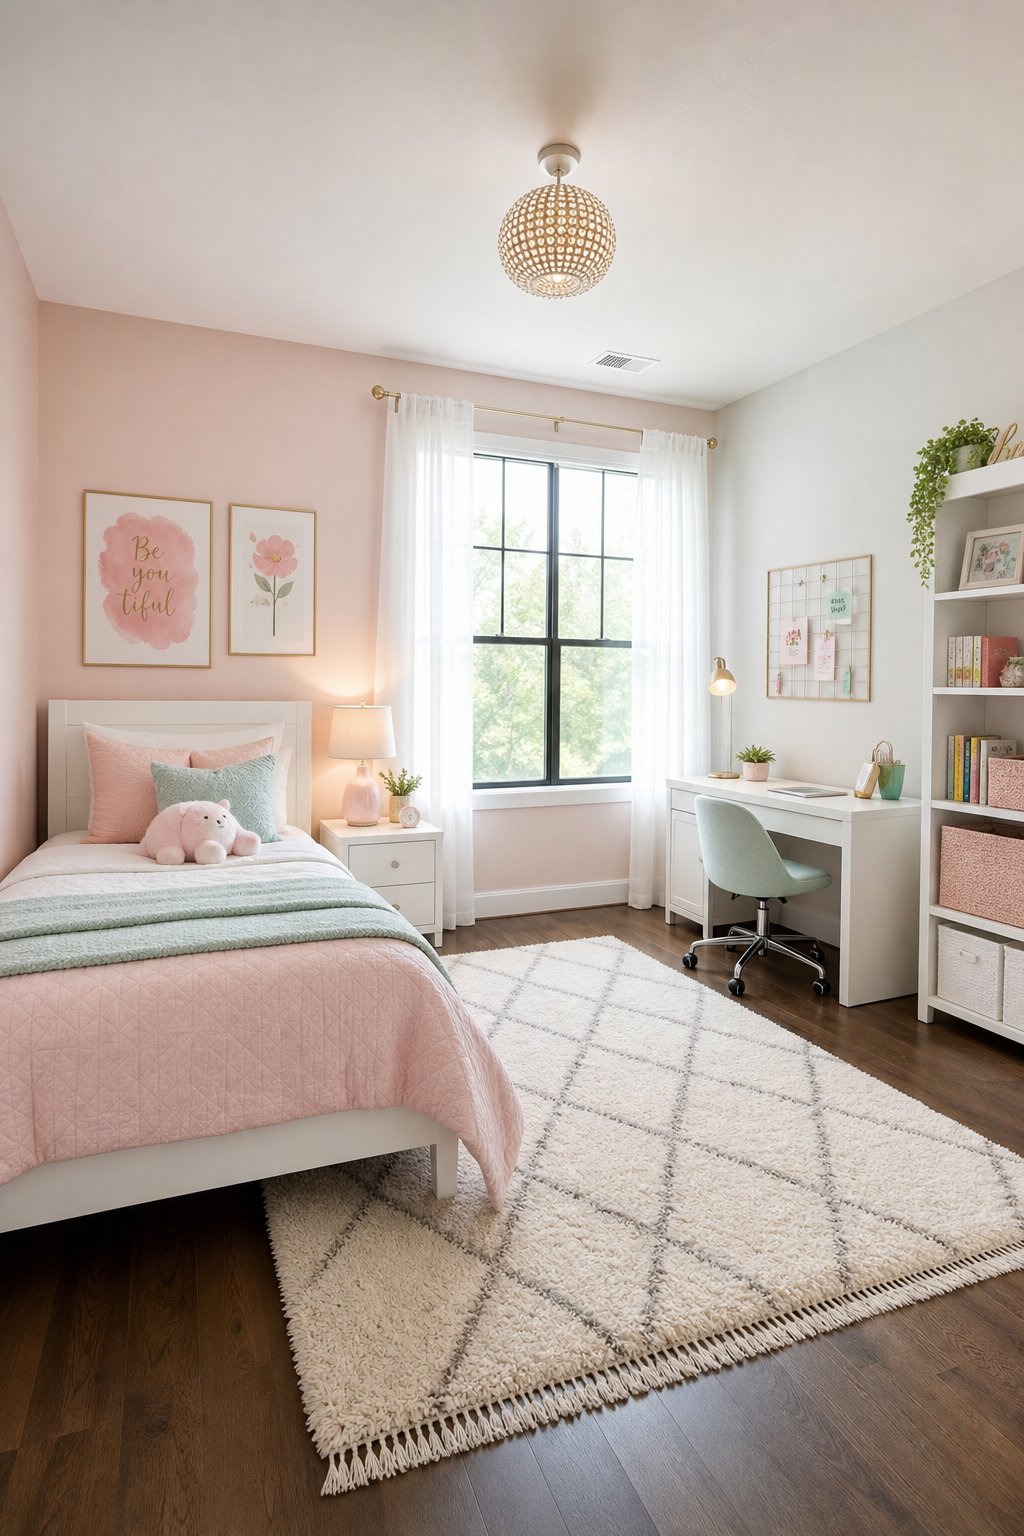
Every other furniture decision in the room flows from where the bed lands. Get that right first and the storage, lighting, and zones tend to fall into place without much struggle. Get it wrong and no amount of careful accessorizing fixes the underlying awkwardness.
Creating functional pathways
Doorways and closets crowding one wall is one of the most common layout problems. Sliding the bed against the longest available wall clears a direct path from the door to the closet and window without negotiating around furniture.
Aim for at least 24 to 30 inches of clearance on the walking side of the bed. That spacing is the difference between a room that feels tight and one that moves easily. A slim nightstand or a narrow bench can tuck into that space without narrowing the path if you stay disciplined about scale.
If the room has two doors or an off-center window, centering the bed on the main wall balances visual weight and creates roughly equal walking space to each side. A rug runner or floor lamp can reinforce that path without adding furniture.
Supporting a separate relaxing zone
Rooms that need a quiet corner for reading or homework benefit from the bed sitting opposite the window rather than under it. Natural light falls on the desk or reading chair, not directly on the pillow at 7am, and the sleeping zone stays visually separate from the activity zone.
Using the headboard wall to anchor the sleep area is the simplest way to create that separation. The wall behind the bed signals where sleep happens, and the rest of the room becomes available for another kind of use - homework, play, or just a chair that's pleasant to sit in.
Visual balance with windows and doors
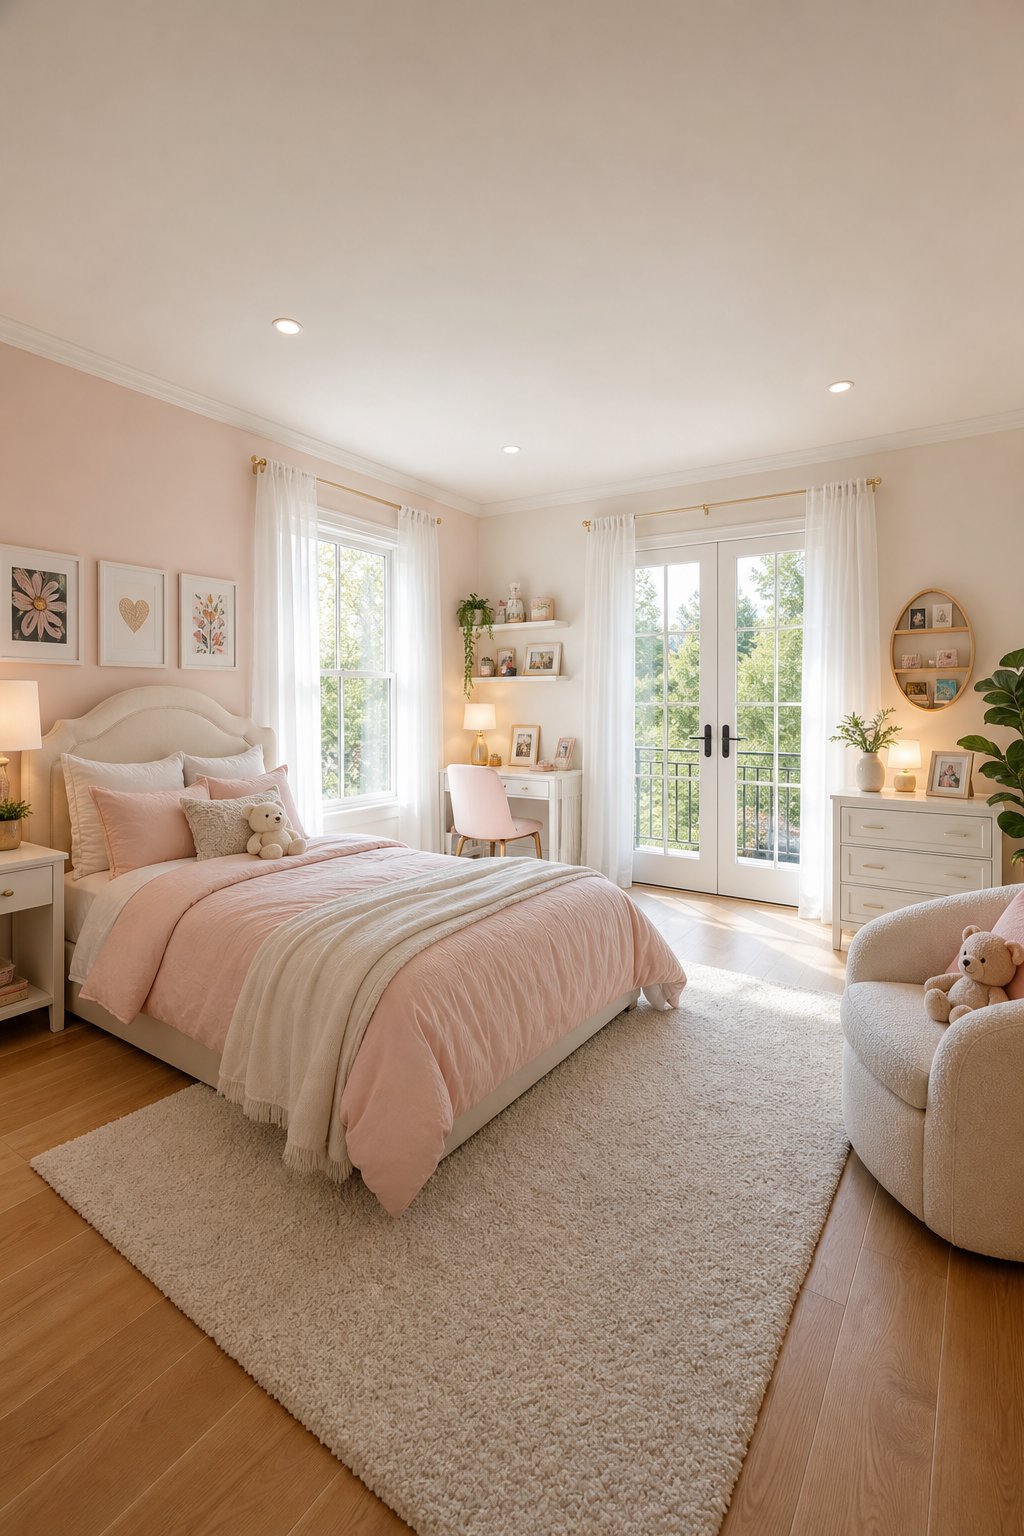
Light, traffic, and privacy aren't separate considerations. They all arrive at the bed from different directions, and the placement that handles all three without sacrificing one is almost always the right one.
Aligning the bed with architectural features
A single window on one wall and a doorway on the adjacent wall makes a corner placement feel natural - but the way you execute it matters. Push the headboard against the longer wall so the bed aligns with the window trim or a wall stud. That alignment anchors the bed visually and stops it from looking like it drifted into position.
When the headboard sits near a window, keep the profile low so the frame doesn't block light. A low-profile headboard or a narrow curtain rod above it lets daylight fall into the room rather than stopping at the bed. The opposite wall opens up for a dresser or desk, and the room feels organized around a clear logic rather than arranged by accident.
Letting in light without losing privacy
Street-facing windows are their own puzzle. The room needs light, but direct morning sun on a sleeping face and visibility from outside are real problems. Placing the bed perpendicular to that window puts daylight across the mattress rather than into it, and keeps the bed out of direct view from the street.
Layered window treatments handle the rest. A translucent shade for daytime diffuses light and gives privacy without darkening the room. A blackout curtain for nighttime keeps sleep undisturbed. That combination means the bed placement and the window can coexist without compromise, and the walking zone between the two stays clear for daily use.
The bed that finally works isn't usually in an unexpected spot. It's in the one that respects what the room is already trying to do.