Ingredients
Equipment
Method
- First, let's get our base going! In your saucepan, stir together the granulated sugar and water over high heat. Keep stirring until the sugar completely disappears into a rolling boil. It reminds me of making simple syrup with my grandma for her famous iced tea, simple and sweet!
- Gently add those beautiful blueberries and the lemon zest into the pan. Turn the heat down low and let them simmer for about 5 minutes. You'll see the berries start to burst naturally, turning the liquid into a stunning deep purple. Resist the urge to mash them, letting them burst on their own keeps our syrup crystal clear!
- Take the pan off the heat and let it sit. I know it's hard to wait, but the syrup needs to be room temperature so it doesn't melt your ice! It usually takes about 20 minutes, the perfect time to find your prettiest glasses.
- Now, pour that cooled purple goodness through your fine mesh strainer into a jar. I like to press very gently on the berries to get every drop of flavor, but don't push the skins through! Save those leftover berries for your morning yogurt, they're delicious.
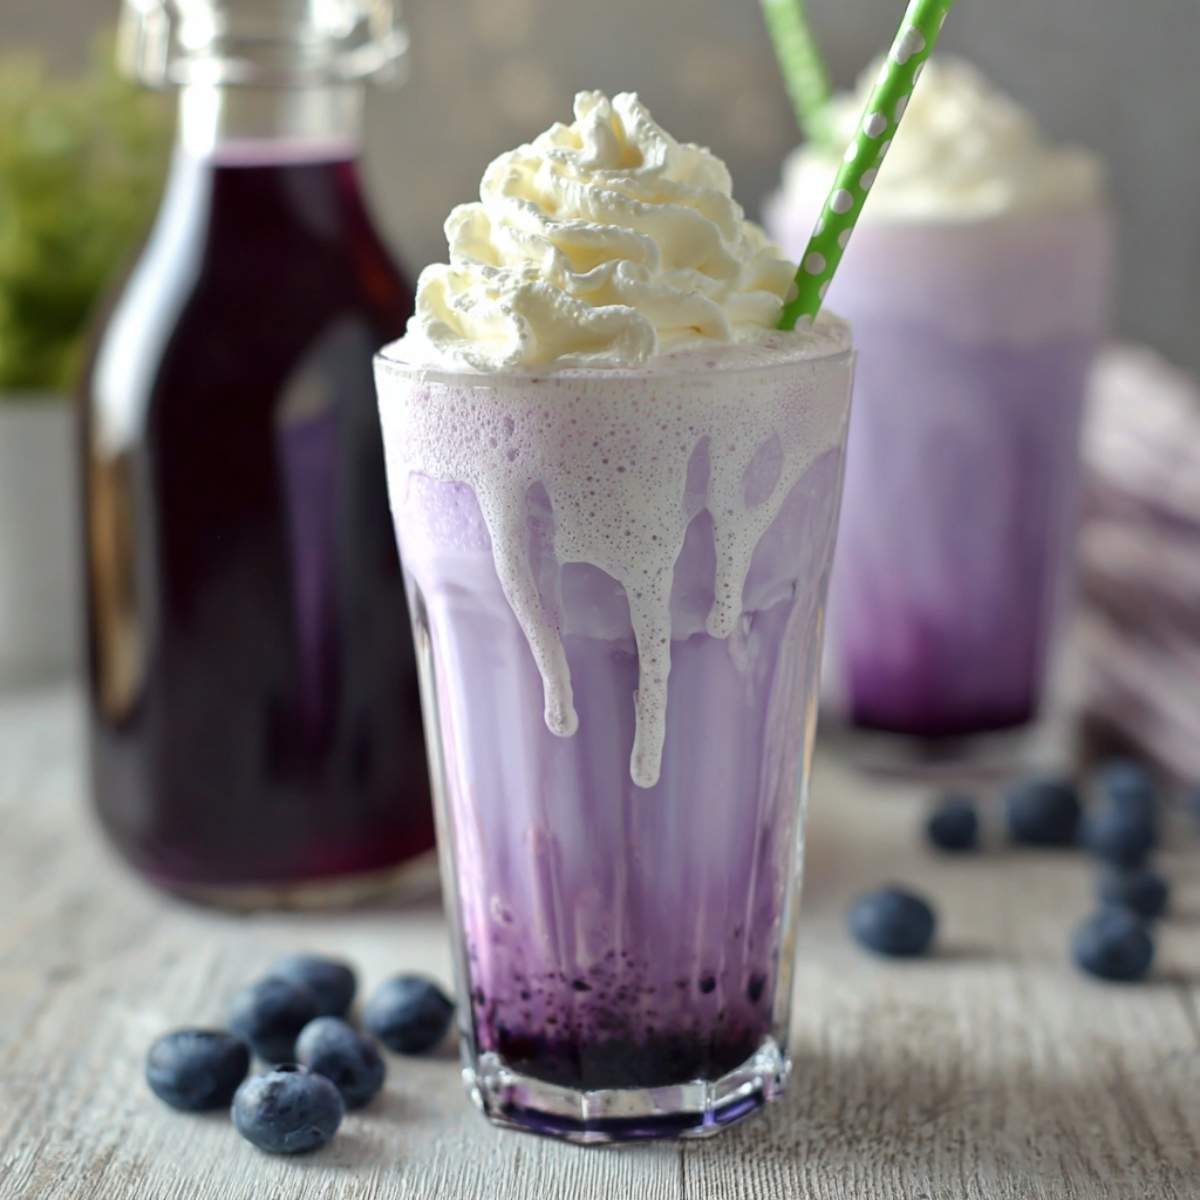
- Time for the fun part! Fill your tall glass halfway with ice. Pour 2 ounces of your blueberry syrup right over the ice. It’ll settle at the bottom like a little pool of liquid velvet.
- Slowly pour 6 ounces of sparkling water down the side of the glass. If you pour too fast, you'll lose all those happy bubbles! You’ll see the color start to dance and swirl upward.
- For that professional cafe look, hold a spoon over the glass and gently pour 2 ounces of half and half over the back of it. This lets the cream float on top before slowly drifting down. Top it with a big swirl of whipped cream and enjoy!
Nutrition
Serving: 1glassCalories: 285kcalCarbohydrates: 56gProtein: 2gFat: 7gSaturated Fat: 4gMonounsaturated Fat: 2gCholesterol: 18mgSodium: 45mgPotassium: 95mgFiber: 1gSugar: 54gVitamin A: 215IUVitamin C: 5mgCalcium: 65mg
Notes
Flavor Twist: For a "Vanilla Blueberry" version, stir ½ teaspoon of vanilla extract into the cooled syrup. It’s like a dessert in a glass!
Make it Dairy-Free: You can easily swap the half and half for a full-fat coconut milk or your favorite dairy-free creamer.
Storage Tip: Your homemade syrup stays fresh in a sealed jar in the fridge for up to two weeks. It's my favorite way to prep for a busy week of treats!
Keep the Fizz: Always assemble these right before you serve them so the bubbles stay bright and tingly.
Tried this recipe?Let us know how it was!